How to set up and access Central
This article explains how to get access to Central and which requirements are necessary to be able to use it.
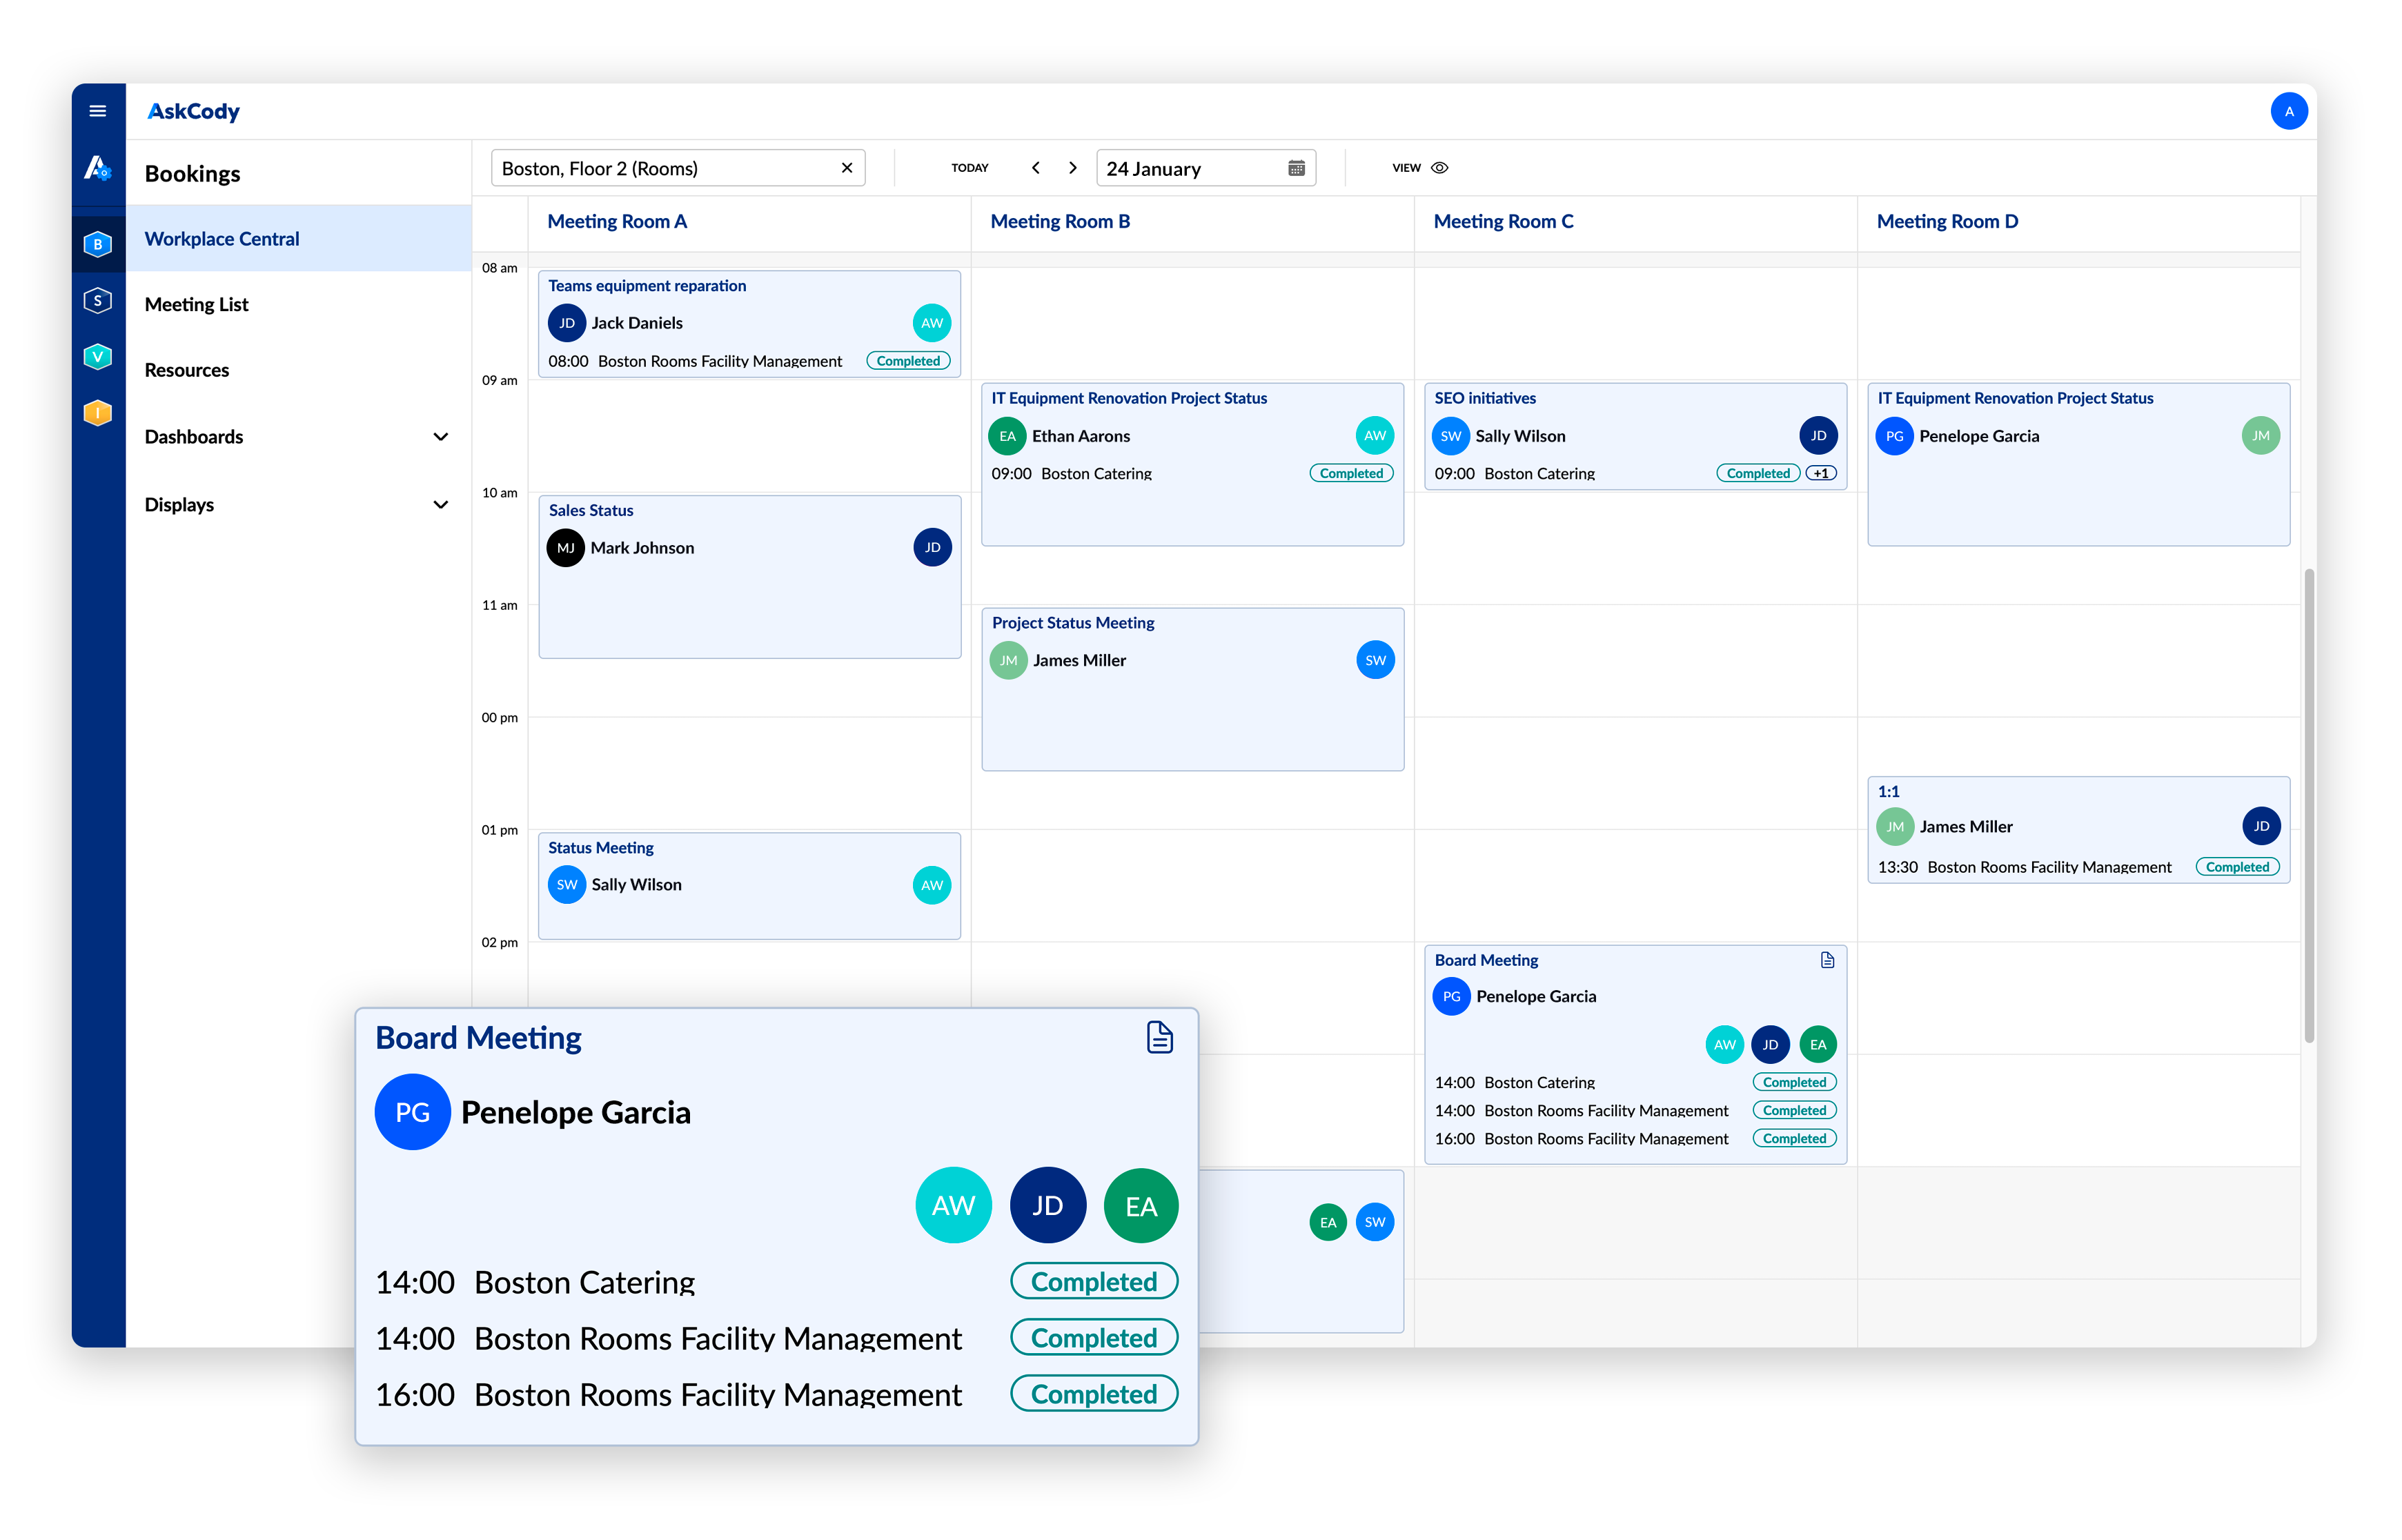
Workplace Central is the meeting management tool for Meeting Services Managers, Meeting coordinators, and others who administrate other people's calendars. If you'd like to learn more about what you can do with Workplace Central, you can go to this article: What is Central?
Requirements for using Workplace Central
Workplace Central is designed as a Microsoft Graph application. The following instructions will help you through the necessary steps to access it, including its requirements and the permissions needed for its best functioning.
Software Requirements
Before you begin, it's important to note that Workplace Central requires specific requirements for setup:
- Rooms and Users on Exchange Online
Workplace Central uses Exchange Online for its room and user management. Please ensure that all the rooms and users you plan to manage through Workplace Central are set up on Exchange Online. - Azure Active Directory Integration (AADI) and SSO (Login with Microsoft credentials ) Workplace Central require users to sign in via SSO (single sign-on) using Microsoft accounts through AskCody. Users not synchronized into AskCody via AADI cannot log in using SSO; therefore, running AADI with AskCody is required for the software to function correctly.
Learn how to set up AADI.
Enable SSO in your account by following these steps.
The permissions required
The AskCody Enterprise Application, also known as "GoAskCody" in the Entra ID Portal for customers running our US environment and "AskCody" for the EU, must be granted specific permissions for Workplace Central to work optimally.
Note: If you have set up your Entra ID integration after June 1st, 2023, these permissions should already be granted, then skip this step.
*If you need the Central Full Access Rescheduler role for Workplace Central, you might need to grant further permissions. Please take a look at the list below.
The permissions the application requires are:
- Calendars.Read (Delegated)
- Calendars.Read (Application)
- Calendars.ReadWrite (Application) - Required for the Central Full Access Rescheduler role.
- User.Read.All (Application)

How to grant permissions in Entra ID
- Open your Entra ID Admin Portal.
- Click on App Registrations and click on the AskCody Enterprise Application called "GoAskCody" (for US customers) or "AskCody" (for EU customers).
- Click on Permissions in the left menu bar.
- Have the permissions mentioned above already been granted to the application?
If not, click the blue button "Grant admin consent to AskCody (Go AskCody if US)” and give consent.
Note: The list of permissions might be longer than the five listed above because the application is used for other AskCody products to work. Do not delete them! - Click on Accept at the bottom, and you should be all set.
Once you've granted the permissions, please note that the changes may take a few hours (up to 12 hours) to take effect.
![Logo - Secondary White-1.png]](https://help.askcody.com/hs-fs/hubfs/Logo%20-%20Secondary%20White-1.png?height=50&name=Logo%20-%20Secondary%20White-1.png)
