![Logo - Secondary White-1.png]](https://help.askcody.com/hs-fs/hubfs/Logo%20-%20Secondary%20White-1.png?height=50&name=Logo%20-%20Secondary%20White-1.png)
Important note
This article explains how to set up the legacy version of AskCody’s Automatic User Synchronization for Entra ID. It is only relevant for existing customers who are currently using this legacy integration.
Please note that this legacy user synchronization service will be discontinued on December 1, 2026. After this date, the service will stop running, and user synchronization based on this integration will no longer work.
We have released a new and improved user synchronization solution, based on Entra ID App Provisioning (SCIM), which offers significantly better performance and reliability.
You can learn how to set up the new integration here.
This article will guide you through the setup of the former Entra ID integration for user management, along with role provisioning. The setup of Entra ID Sync will be performed in the AskCody Azure AD Portal, and consists of 4 steps:
Step 1. Add Entra ID Global Administrator account as a user in AskCody. Make sure that this user has either the "AskCody Owner" or the "Integration Administrator" roles in the AskCody Management Portal.
Step 2. Establish an integration and grant consent to Entra ID.
Step 3. Configure the Entra ID Integration.
Step 4. Manage users with Entra ID
During the process of setting up an Entra ID Integration, there will be some particularly important things to consider; these will be highlighted in a red callout like the one below.
Requirements *Please read*
- Global Administrator access to Entra ID
Some of the steps in the process of setting up the Entra ID sync requires Global Administrator access. This requires that you either have the role yourself or have access to the Global Administrator account credentials. The Global Administrator also needs to be a user with an email address in your Entra ID (Used in Step 1). Read more here. - Users setting up the integration need to exist in the organization's Entra ID
Some organizations hire third-party consultants or external service providers to set up the Entra ID Integration after the Global Administrator has granted initial consent. In these cases, to have access to the Entra ID Integration configuration, the user setting up the Entra ID Integration must exist in the organization's Active Directory. - Only security-enabled groups in Azure AD can be integrated
Make sure that the Entra ID groups you want to synchronise are security-enabled, otherwise, they will not be synchronised - Entra ID groups suitable for integration
We recommend that the Entra ID groups you plan to integrate fits with the AskCody user role hierarchy. Examples of suitable groups: All users, AskCody Owners, Facility Management, Reception, IT, etc.
How to set up and configure the Entra ID Integration
An Entra ID Global Admin access is required in some of the steps in this section. These steps will be highlighted in a red box.
Step 1. Add Entra ID Global Administrator as a user in AskCody
-
Log in to the AskCody Management Portal.
-
Click on the Admin Center on the left bar
-
Open the dropdown menu click on Users and choose Users.
-
Click on the button Add, to add a new user.
-
Type in a Name and the E-mail of the Global Administrator account.
-
Grant this user the role: AskCody Owner.
-
Click Add.
Step 2. Establish an integration and grant consent to Entra ID
- Log in to AskCody Management Portal with the new AskCody Global Administrator user you created in Step 1.
- Click on the Admin Center on the left bar
- Click on Integrations and then on Azure AD Integration.
- Click the button Grant access to Azure AD Integration.
- You will be redirected to the Microsoft Sign in page.
Info
The steps in the next two bullet points require a Global Administrator in your organization's Exchange environment.
- Sign in with Global Administrator Microsoft account (not the AskCody Global Admin user)
- Click Accept and grant consent to the permissions requested in the Microsoft box.

- After the consent is given, you will be redirected back to the AskCody Azure AD Portal and should see the following message:
By seeing this, you have successfully granted consent to the AskCody Enterprise Application in Entra ID, and are ready to start configuring the integration
Info
Please note that at this point of the guide, the integration is not running or configured yet.
Step 3. Configure the Azure AD Integration
- Log in to AskCody Management Portal
- Go to the AskCody Admin Center
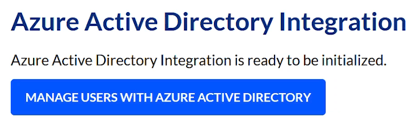
- Open Integrations and choose Azure Active Directory Integration.
- Click on Manage users with Azure Active Directory
- You will be redirected to the AskCody Azure AD Portal.
- Click the button Start and start creating the first integration group.
- Write the name of the user group from the Azure AD you wish to integrate with as your Root group.
*In the search box, please write the full name of the user group. The integration will not get the correct search result just by searching for a part of the group name.
Info
Root group: is your main group from which you will create additional groups. The root group needs to be set up by a user with Global Administrator access in your organization's Active Directory.Tip: We recommend you start with a Root group with all your AskCody users.
- Choose a default country.
The country selected is just a technical requirement for the integration to properly and will not have an effect on your AskCody settings. - Click Save when done. Then click on Save changes on the top right corner.
Info
From now on, the Global Administrator is no longer needed to set up the Azure AD Integration. However, in order to change any settings in the Azure AD Integration's configuration from now on, the user making those changes needs to exist in your organization's Active Directory (information mostly relevant for organizations that hire third parties to perform changes in the configuration of the Azure AD Integration).- Click on Add group on the Root group you just created in the AskCody Azure AD Portal, to add an additional group.
Info
Remember to add a System Owner group including you as a user, to not exclude yourself from the integration. Otherwise, this will deny you access to the system afterward.- Configure the group as needed with the possibilities below:
- Roles (all users)
Assign the users of this group with AskCody roles. With roles, it is possible to decide which areas the users should have access to in the AskCody Management Portal and Outlook Add-ins. - Cost Center Group Memberships (Services users)
If Cost Center Groups are created for Services in the AskCody Management Portal, it is possible to assign users to the cost center groups here.
- Roles (all users)
Info
If your organization manages cost center memberships through Entra ID, and you want to integrate these into AskCody, please consider the following information:
In the main configuration page of the Entra ID Integration, when clicking on the wheel to select the root group, you will see a field called "Cost center attribute name". In here, please insert the cost center attribute name from Azure AD using the following format:extension_xxxxxxxxx_AttributeName
The "extension_xxxxxxx_" segment is generated by Entra ID when creating the user attributes. To get this from your Entra ID, you can follow Microsoft's guidelines on how to obtain it and do so by running the following PowerShell command, where '$UserId' should be replaced by the user's mailbox:
Get-AzureADUserExtension -ObjectId $UserId
An example of this is the following, which would provide the information regarding the Azure AD User Extension attributes for the user 'jd@askcody.com':
Get-AzureADUserExtension -ObjectId "jd@askcody.com"When you have the extension attribute name for the cost center, please insert it in the "Cost center attribute name" field mentioned above. It will look like this:
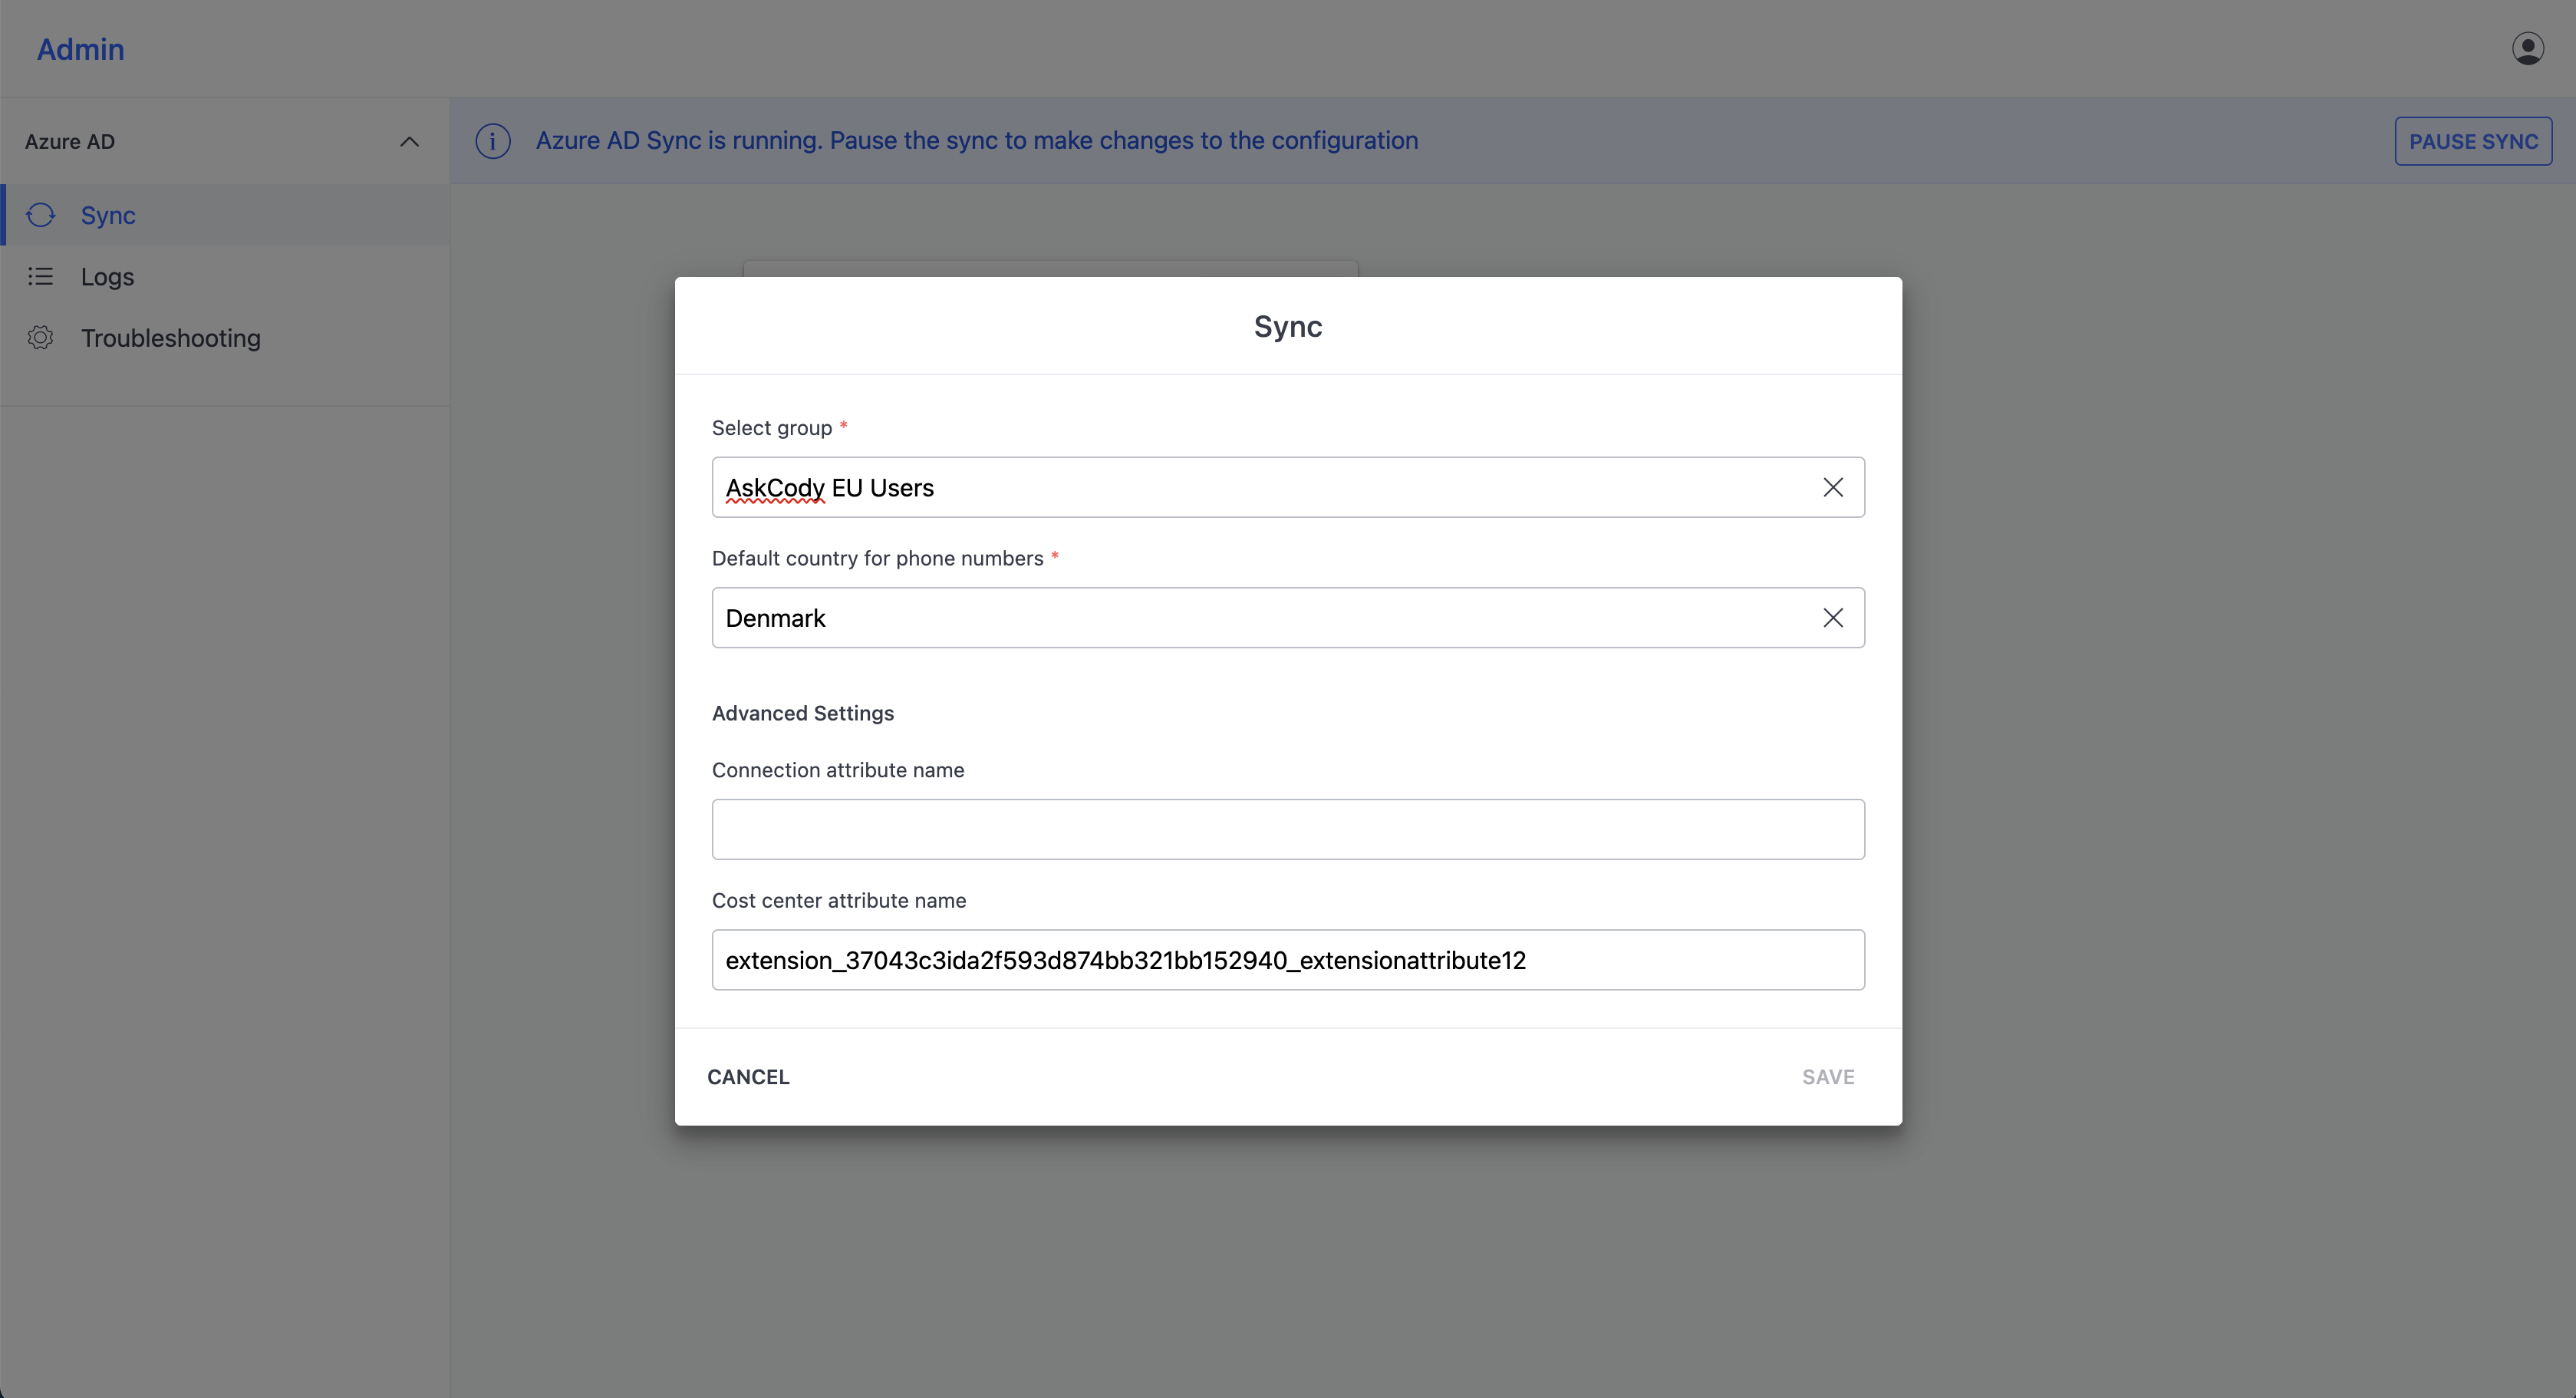
By clicking on "Save" at the bottom right corner, the cost center memberships established in your organization's Active Directory will be integrated into AskCody.
-
- Delivery Provider Memberships (Services users)
It is not enough to only assign the roles Services Administrator, Provider, or Accountant to the users of the Services Management Portal, they also need to be members of the provider they will be working in. - Reception Memberships (Visitors users - Receptionists)
It is not enough to only assign the roles Visitors Administrator or Receptionist to the users of the Receptionist tool, they also need to be members of the reception they will be working in. - Reception Assignments (Visitors users - Add-in users that host meetings and receive visitors)
In AskCody Visitors, we navigate with the concept of "Hosts". When a user uses the Receptionist tool, the add-in, or when a visitor uses the Check-in Kiosk, it is possible to choose a Host (the host of the meeting). This means that it is important that you assign all users that have the possibility of hosting a meeting with this configuration.
- Delivery Provider Memberships (Services users)
-
Add more additional groups if needed.
- Click Save Changes in the upper right corner of the AskCody Azure AD Portal.
Info
Please note that the integration is not running yet.
Step 4. Start integration
- Click on Initialize Sync.
- Read the text and click START.
The info box now changes to "Azure AD sync is initializing".
Info
The integration is not running yet but only preparing to run. Wait until the Azure AD is ready to integrate. Depending on how many users and groups need to be integrated, this could take a while.- Click Start Sync when the sync is finished initializing, the button in the upper right corner will change to Start Sync.
Depending on how many users and groups need to be integrated, this could take a while.
After performing these steps your integration will be running periodically, integrating users, memberships, and hosts according to your preferences. If you need to make any changes to the integration please pause it, perform the changes, and resume it.
Editing the Entra ID Integration
If you for some reason need to edit the Entra ID Integration, e.g. add new AD Groups, change the roles or memberships, then you need to press Pause Sync, after which you will be able to make the desired adjustments.
Remember to press "Save Changes" and then "Start Sync".
Experiencing problems?
If you, during the process of setting up integration between AskCody and your Azure Active Directory, are experiencing problems we ask you to check out our Azure AD troubleshooting article here.