
This article will guide you through what you can prepare before adding and inviting all your users to join the AskCody Platform, and how to add them.
When you reach this step in your implementation process you most likely have set up and configured all modules and features in your AskCody Platform, and now have an overview of exactly which user hierarchy and the different levels of access is needed for your users to navigate and manage the platform. This will make it easy for you to invite the rest of your organization to join the Platform.
Prepare and launch End-user management
Earlier in the process, you chose to add your implementation project team either manually by adding them one-by-one or automatically by setting up an Active Directory integration to synchronize your team and now the rest of the organization. In the following, we will guide you on how to invite the rest of your organization, based on your choice of user management.
-
Manual user management
If you chose to add your project team manually one-by-one and wish to continue doing that with the rest of the organization, simply follow the instruction as given in the earlier steps in this article: Add users manually in the AskCody Portal. -
Manual to Automatic user management
If you chose to add your project team manually one-by-one but wish to now set up an Active directory Integration to synchronize your users follow the instruction given below. -
Automatic user management (Entra ID and Active Directory Integration)
If you chose to create an integration to your Active Directory or Entra ID to synchronize your users into the AskCody Portal, the best way to inviting your whole organization, is by considering how you wish your Entra ID groups should be synchronized based on the roles the users need to navigate on the AskCody Platform?
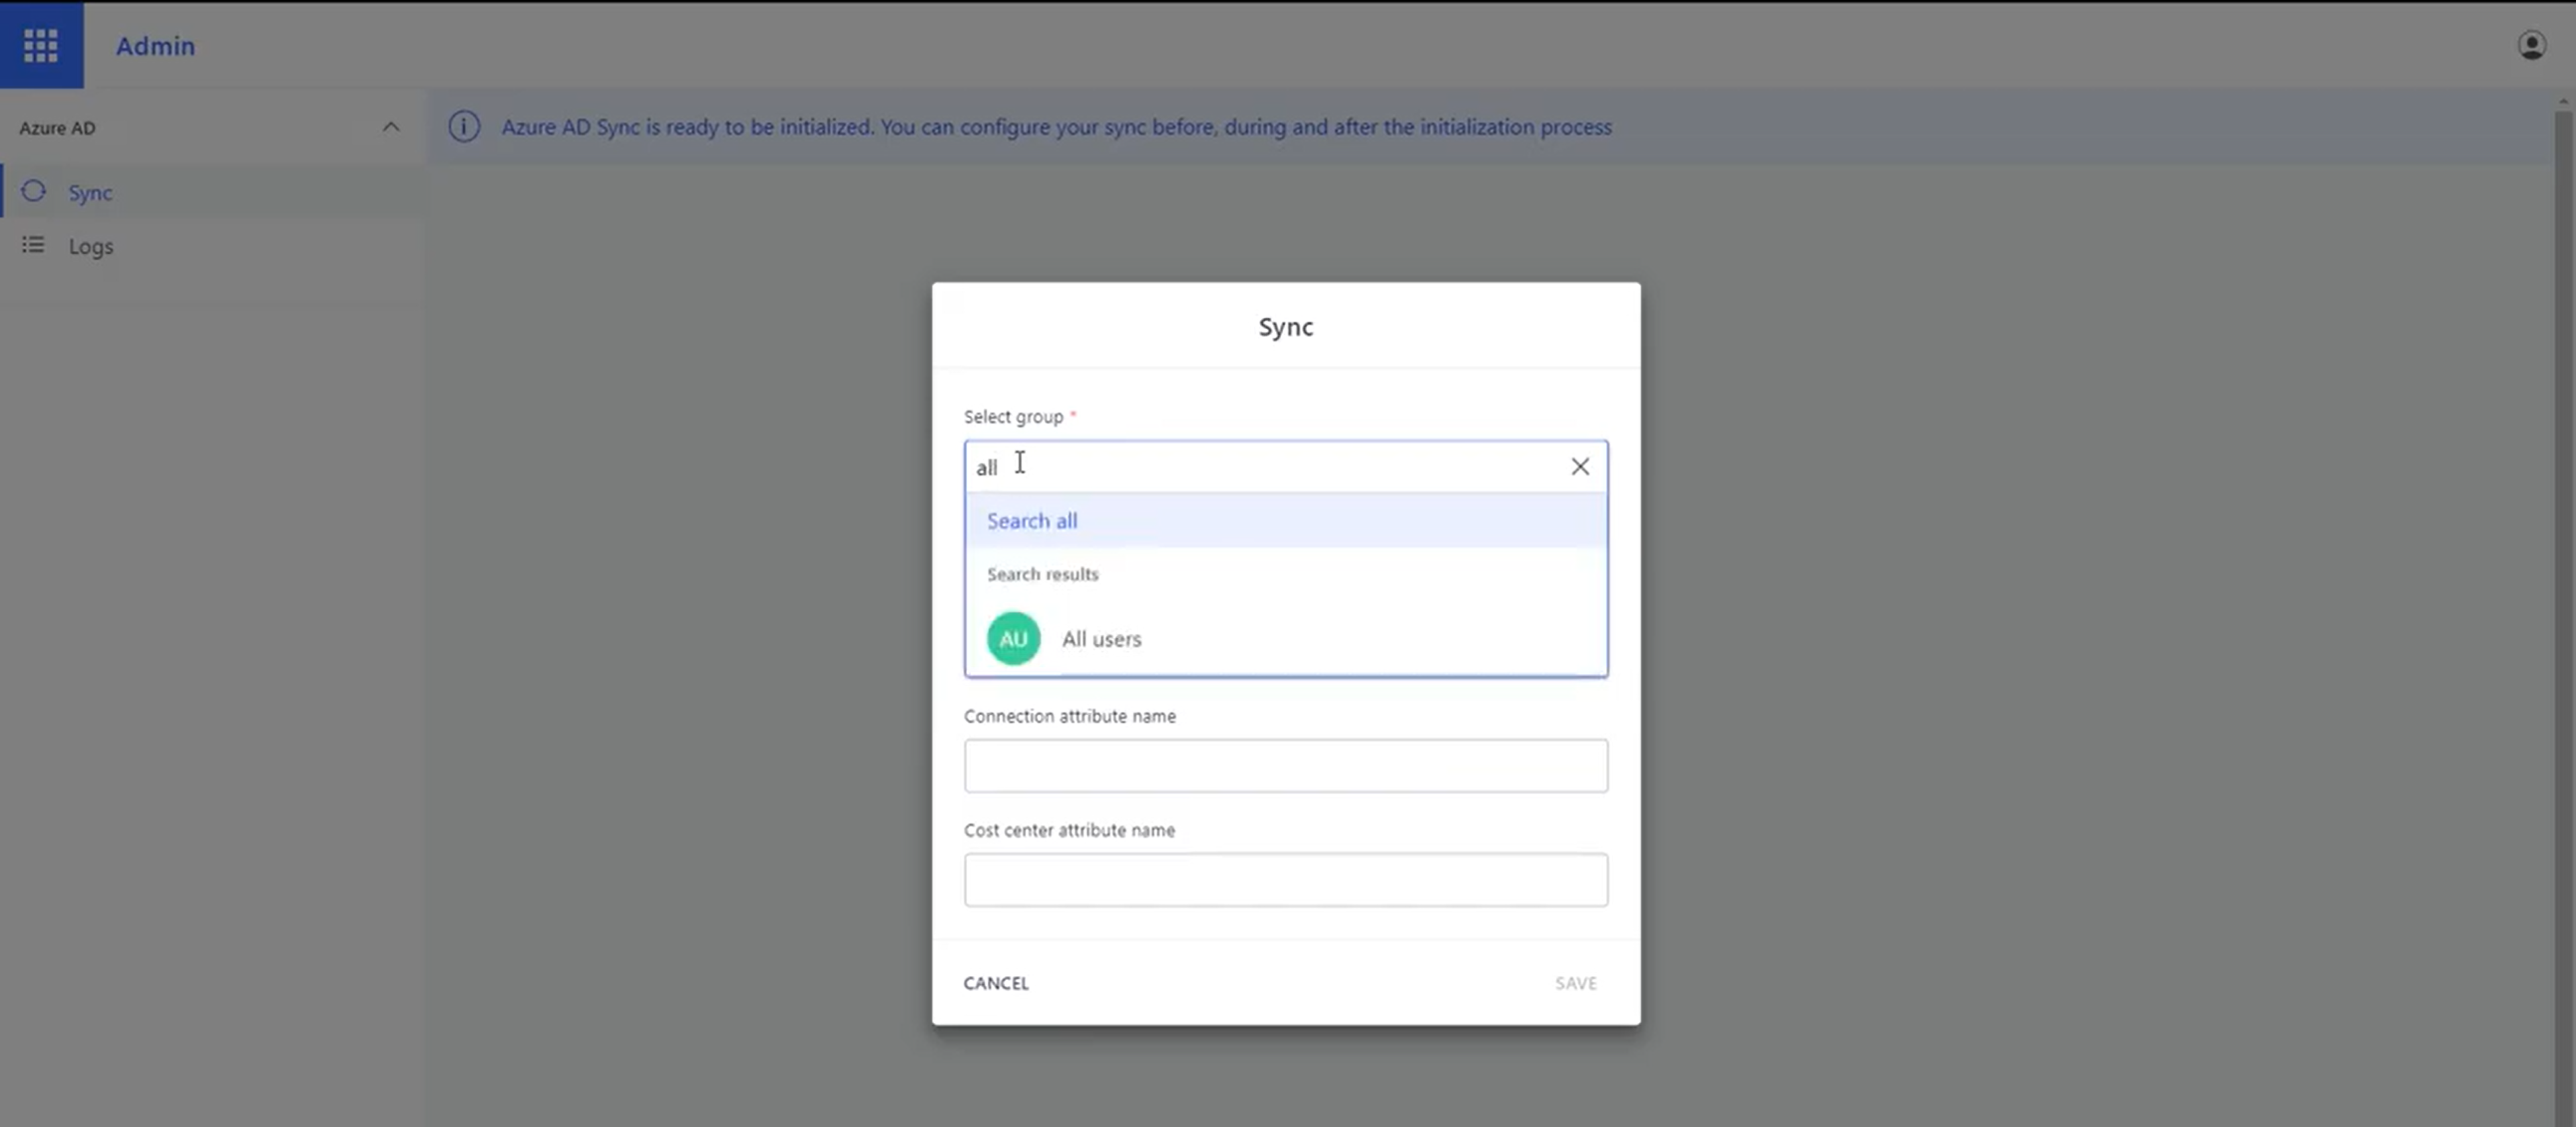
At this point, you might have synchronized one group into the AskCody Azure Portal, the Implementation Project Group. This might also be your root group? If you have not already created the root group consisting of all the users needing to use the AskCody Platform (Web Portal users, Admin Center users, and Add-in users), this is the first thing you need to do.
We recommend seeing the videos in this article as these will show you exactly how to create users groups in the AskCody Azure Portal.
1. All users in the root group
Create a group in your AD consisting of all users that need access to the AskCody Platform (Web Portal users, Admin Center users, and Add-in users). This should be synchronized as your new root group in the AskCody Azure Portal. It is important that your root group consist of all users since you can't create user groups with users not available in the root group.
2. Define user groups
Now it is time to define your user groups. Depending on which elements of the AskCody Platform you have set up and the levels of user management and accesses to the platform you need, the user groups you need are based on that information.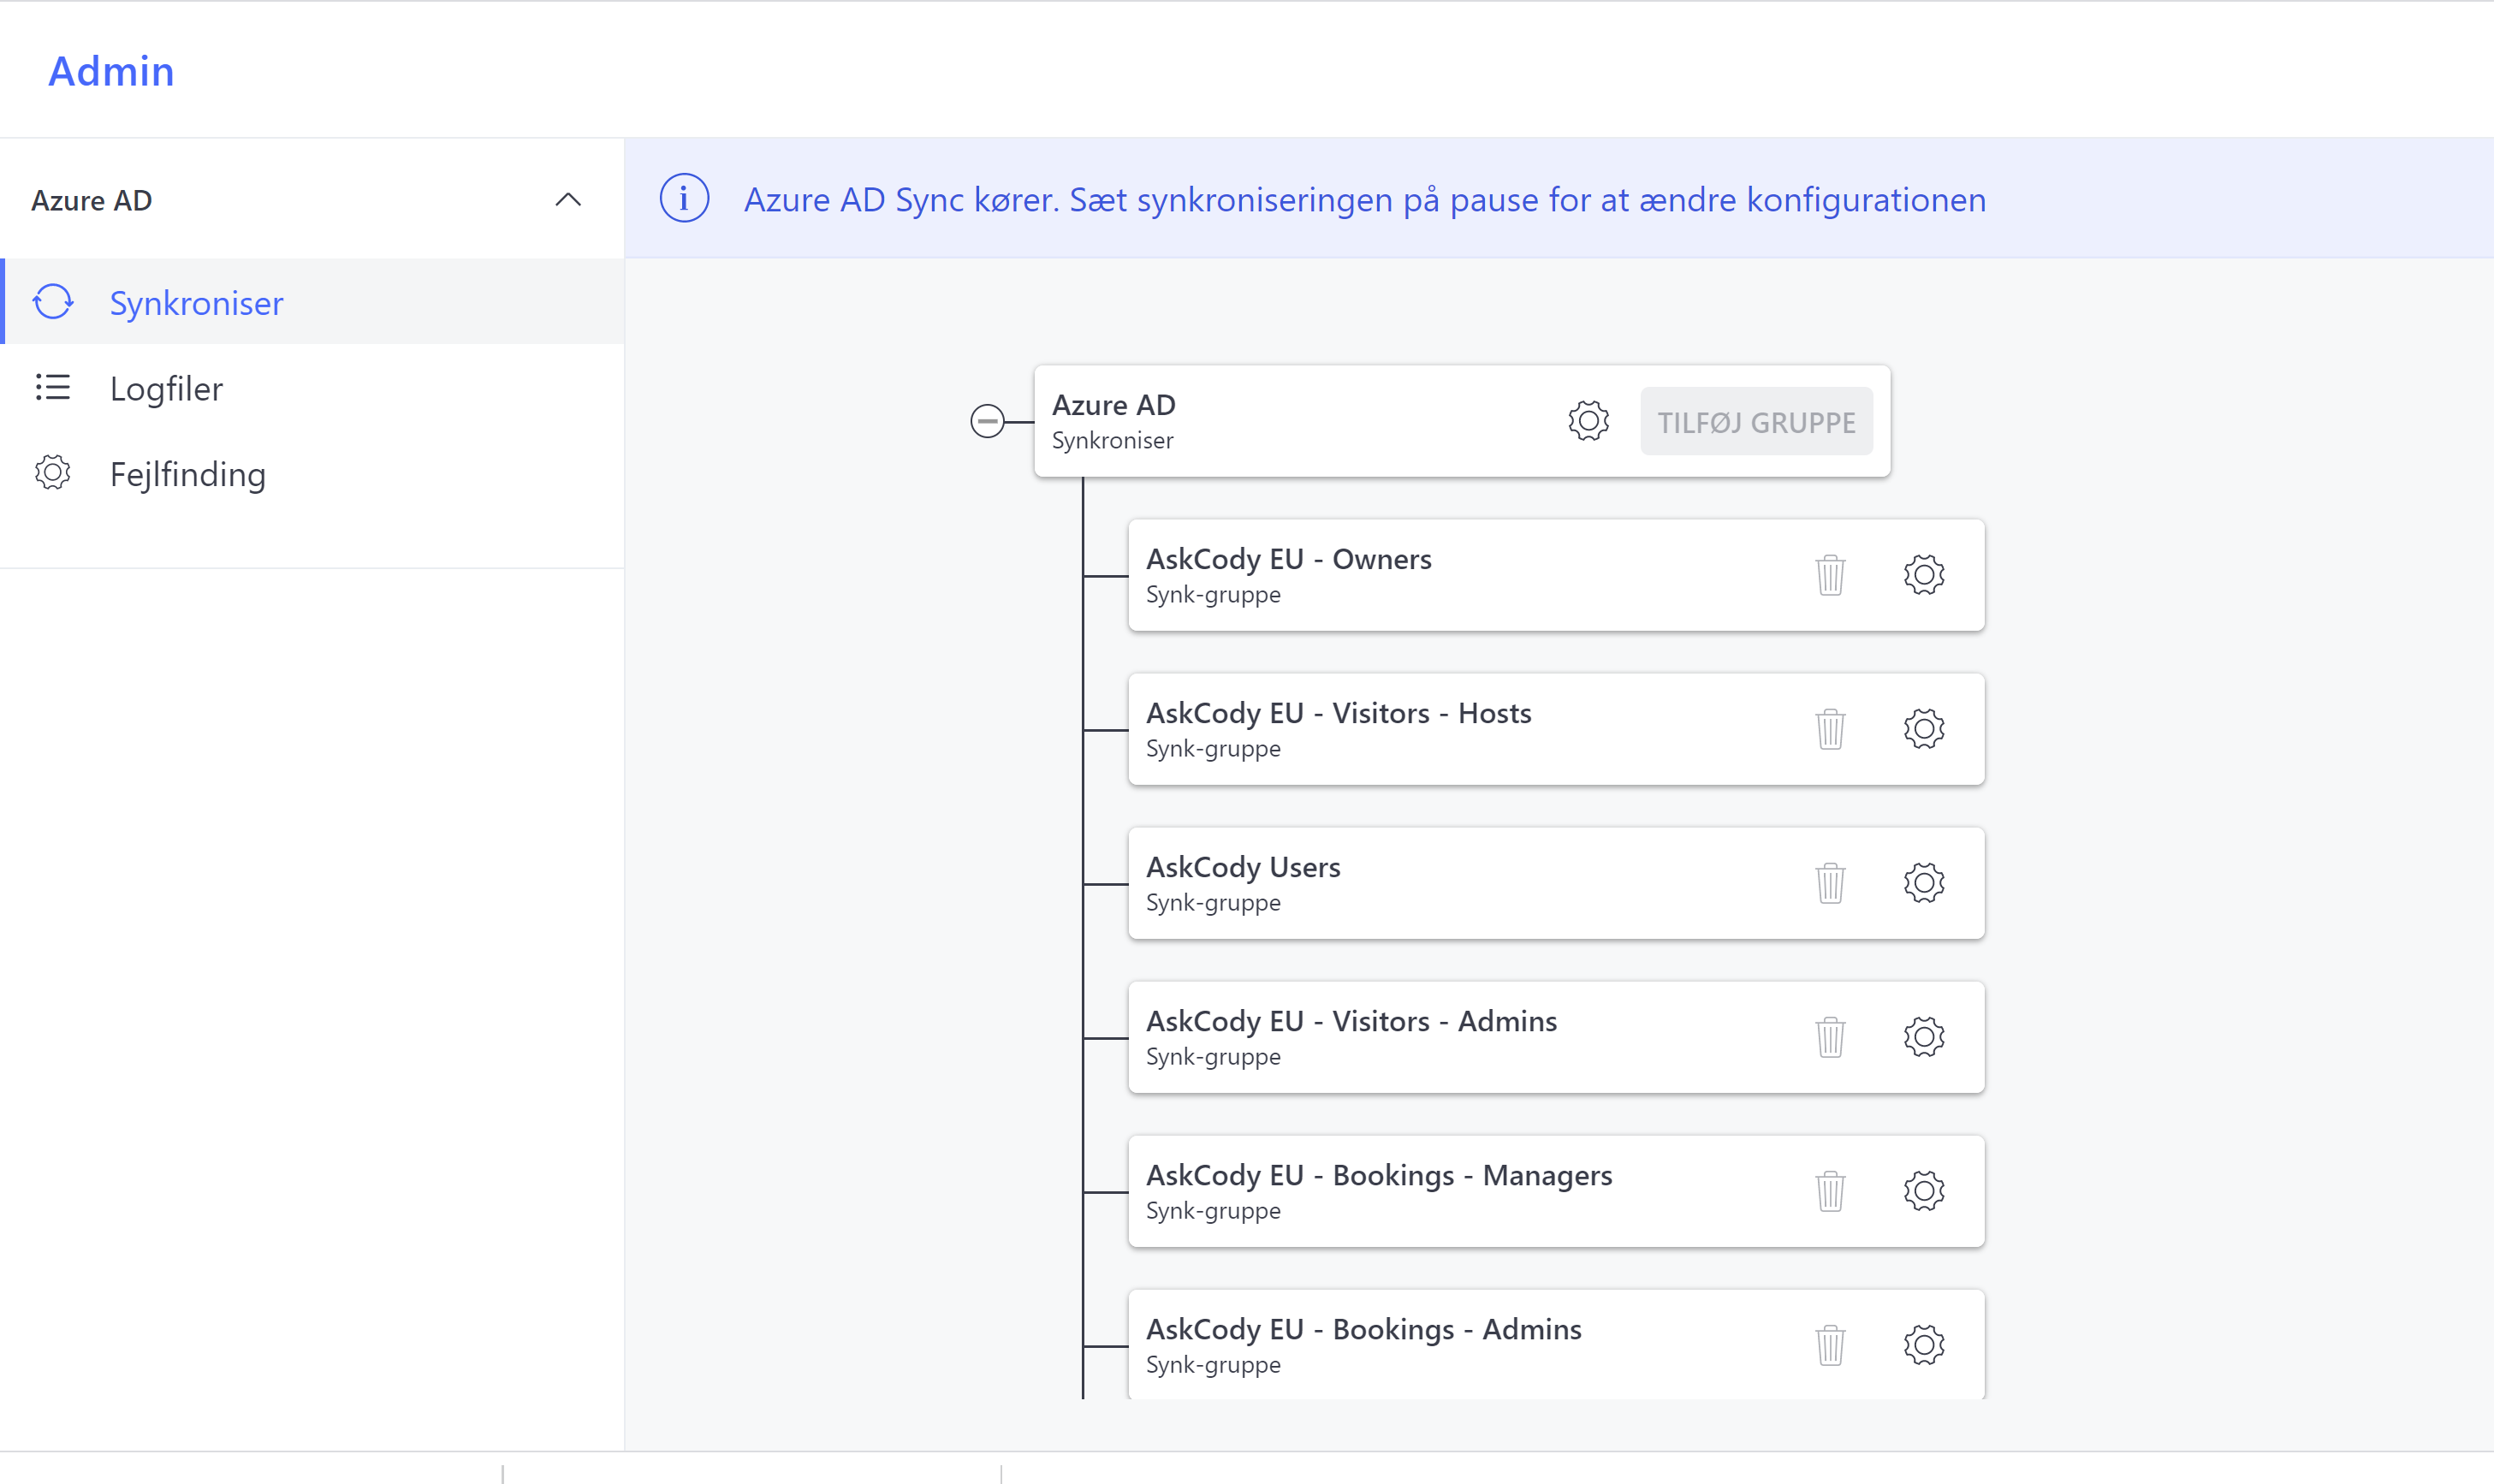
Most commonly we see that our customers choose to either replicate the user group structure from their AD into the AskCody Azure Portal or creating specific users groups in AD for AskCody use only.
Tip
We always recommend having one specific AskCody group created in your AD and in the AskCody Azure Portal, the Owner group. Here you will add all the users in your organization that need to be Owners of the AskCody Platform (The Owner role has access to everything in the Portal). This will make sure you don't synchronize yourself and other owners out from the AskCody Portal.
Choosing to replicate the structure of your user groups from AD works well for large organizations with a lot of user maintenance because they don't have to remember to add and remove users from separate user groups created specifically for AskCody. Though it takes a little longer to set up in the AskCody Azure Portal, because you will have to replicate all your user groups from AD, but it will be easier to maintain in the long run.
Choosing to create specific user groups for the roles and areas represented in AskCody can sometimes seem easier if you have a complex setup of your AD, and creating new groups for the AskCody project can be the right solution. This will then require you to remember putting the new users added to your AD in the right AskCody AD user groups as well.
Recommendations for AskCody specific user groups:
(This is just an example representing only some of the roles and layers AskCody provides, read about all the roles here.)
|
User Groups |
AskCody Roles |
| Owners All users how should have access to the whole Platform |
Owner role, Add-in user |
| Facility Managers | Resource Administrator, Dashboard Administrator, Display Administrator, Insights Portal User, Add-in User |
| Catering/Hospitality team Administrators | Services Administrator, (Add-in User) |
| Catering/Hospitality team | Services Portal Users, (Add-in User) |
| Receptionists/Front desk | Visitors Administrator, Add-in User |
| Secretaries | Add-in User, Add-in User Delegated Access, Search Specific Room |
| Add-in Users Bookings Add-in, Visitors Add-in, Services Add-in |
Add-in User |
3. Start the AD synchronization
When you have all your groups relevant for your organization created in the AskCody Azure Portal, it is time to start the synchronization again. To begin with, you paused the sync to edit your root group and created your new user groups.
Next Step: Final Testing