![Logo - Secondary White-1.png]](https://help.askcody.com/hs-fs/hubfs/Logo%20-%20Secondary%20White-1.png?height=50&name=Logo%20-%20Secondary%20White-1.png)
Services enables you to optimize coordination between the employee and the kitchen, canteen management, AV provider, and facility management.
It makes sure that all involved parties know exactly what, when, and where regarding requests, and both the employee making the request and the organizational unit responsible for the delivery are given a simple interface that is easy to use. This eliminates the potential misunderstandings between employees and facility staff.
The Services solution consists of 3 parts:
- The Services Manager is the online interface where the facility staff can manage incoming requests, outgoing deliveries, available items/services, and financial aspects.
- The Services Admin Center is the online interface where the facility management can manage the number of providers and set up specific business rules and workflows for each provider.
- The AskCody Services Add-in is the user interface that integrates with Outlook where employees can create and manage their requests. The add-in is connected to both Exchange and the Services manager, so all changes regarding meeting time and location are automatically updated when changes are made through Outlook or the Services Manager.
There are many different configuration options for Services in order to support as many use cases and workflows as possible. If you have any questions or need configuration advice please contact support or write support@askcody.com.
What you need before you can set up Services:
- You have followed and completed step 1-5 in the AskCody Implementation Guide
- You have the AskCody role AskCody Owner.
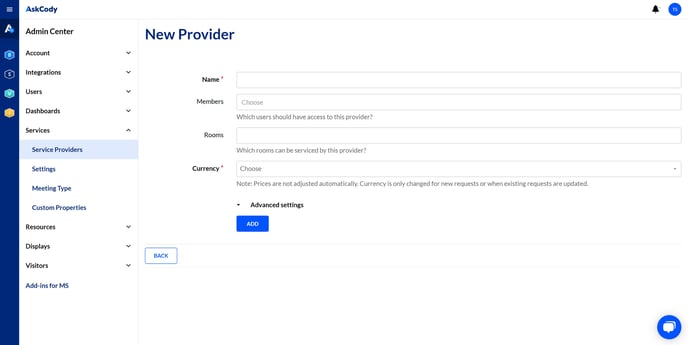
Step 1: Create a Service Provider
Go to Admin Center → Click on Services and choose Service Providers → Click Add → Fill out the information.
Each provider will have its own items, categories, rooms, and members which can be managed from the Services Manager.
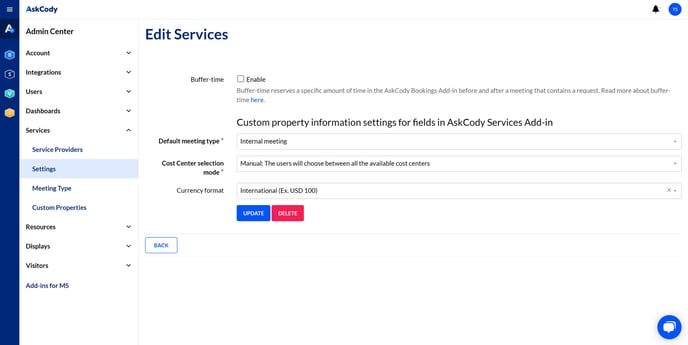
Step 2: Configure Services settings
Go to Admin Center → Click on Services and choose Settings → Fill out the information and click Update.
These settings will affect all add-ins and Service Providers.
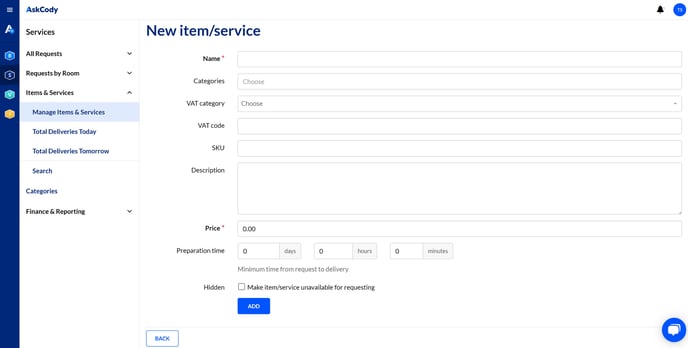
Step 3: Create items and item categories
How to create items: Go to Services at the top left corner of the AskCody Management Portal→ Click on Items & Services → Manage Items & Services → Add → Fill in the information and click Add.
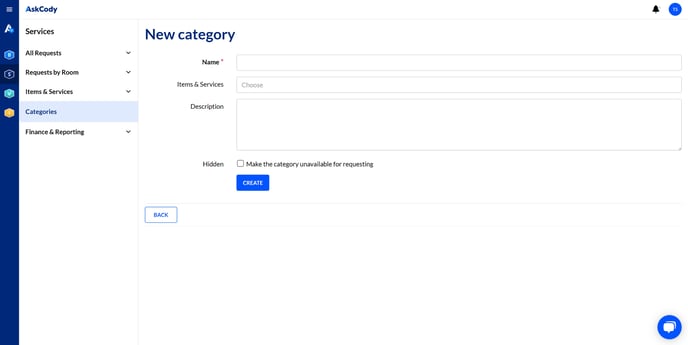
How to create item categories: Go to Services at the top left corner of the AskCody Management Portal → Click on Categories and click Add → Fill in the information and click Add.
For a more detailed guide on how to set up items and item categories, please visit this article.
Step 4: Create cost center and cost center groups
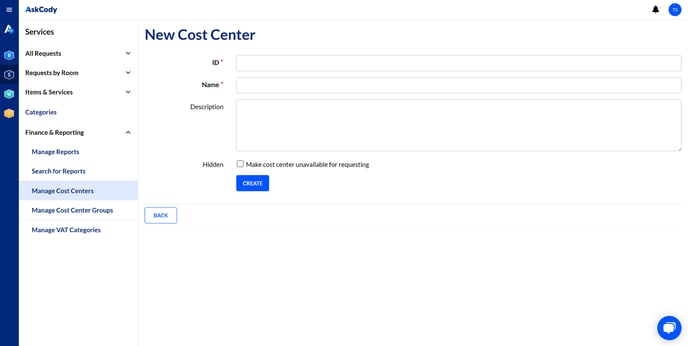
How to create cost centers:
Go to the Services at the top left corner of the AskCody Management Portal → Click on Finance & Reporting and choose Manage cost centers → Click Add, fill in the information, and click Add.
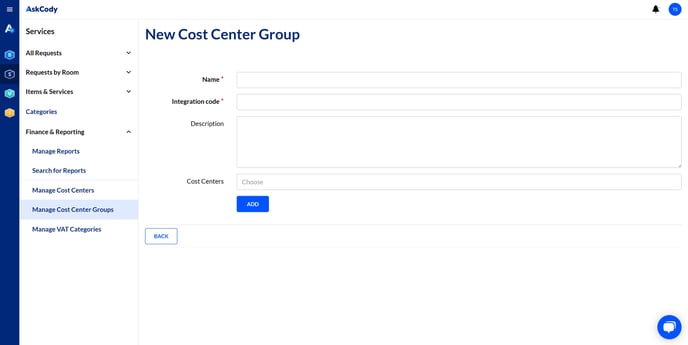
How to create cost center groups:
Go to the Services at the top left corner of the AskCody Management Portal → Click on Finance & Reporting and choose Manage cost center groups → Click Add, fill in the information, and click Add.
To learn more about how to better utilize cost centers and cost center groups, please visit this article.
Step 5: Install the AskCody Services Add-in for Outlook
Go to Admin Center → Click on Add-ins for MS → Copy the Services Manifest URL to your clipboard (ctrl+c) → Install the add-in via Exchange Admin Center (click here to learn how) or via Powershell (click here to learn how)
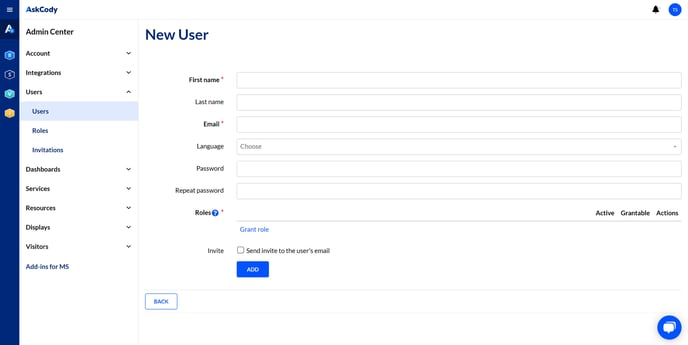
Step 6: Create Services users
How to create Services users manually:
Go to the Admin Center → Click Users and choose Users → Click Add → Fill in the information, choose the Services Portal User role, and click Add.