![Logo - Secondary White-1.png]](https://help.askcody.com/hs-fs/hubfs/Logo%20-%20Secondary%20White-1.png?height=50&name=Logo%20-%20Secondary%20White-1.png)
The check-in kiosk allows visitors to notify a host of their arrival and register their personal information without the need for reception personnel. It also provides your reception with the tools to create a white-glove visitor experience when welcoming people to the building.
The basics
The check-in kiosk is displayed on a touch computer or tablet and it supports the customization of both the content and visual elements. If your reception needs to support more than one language, visitors will also be able to switch between these languages on the check-in kiosk.
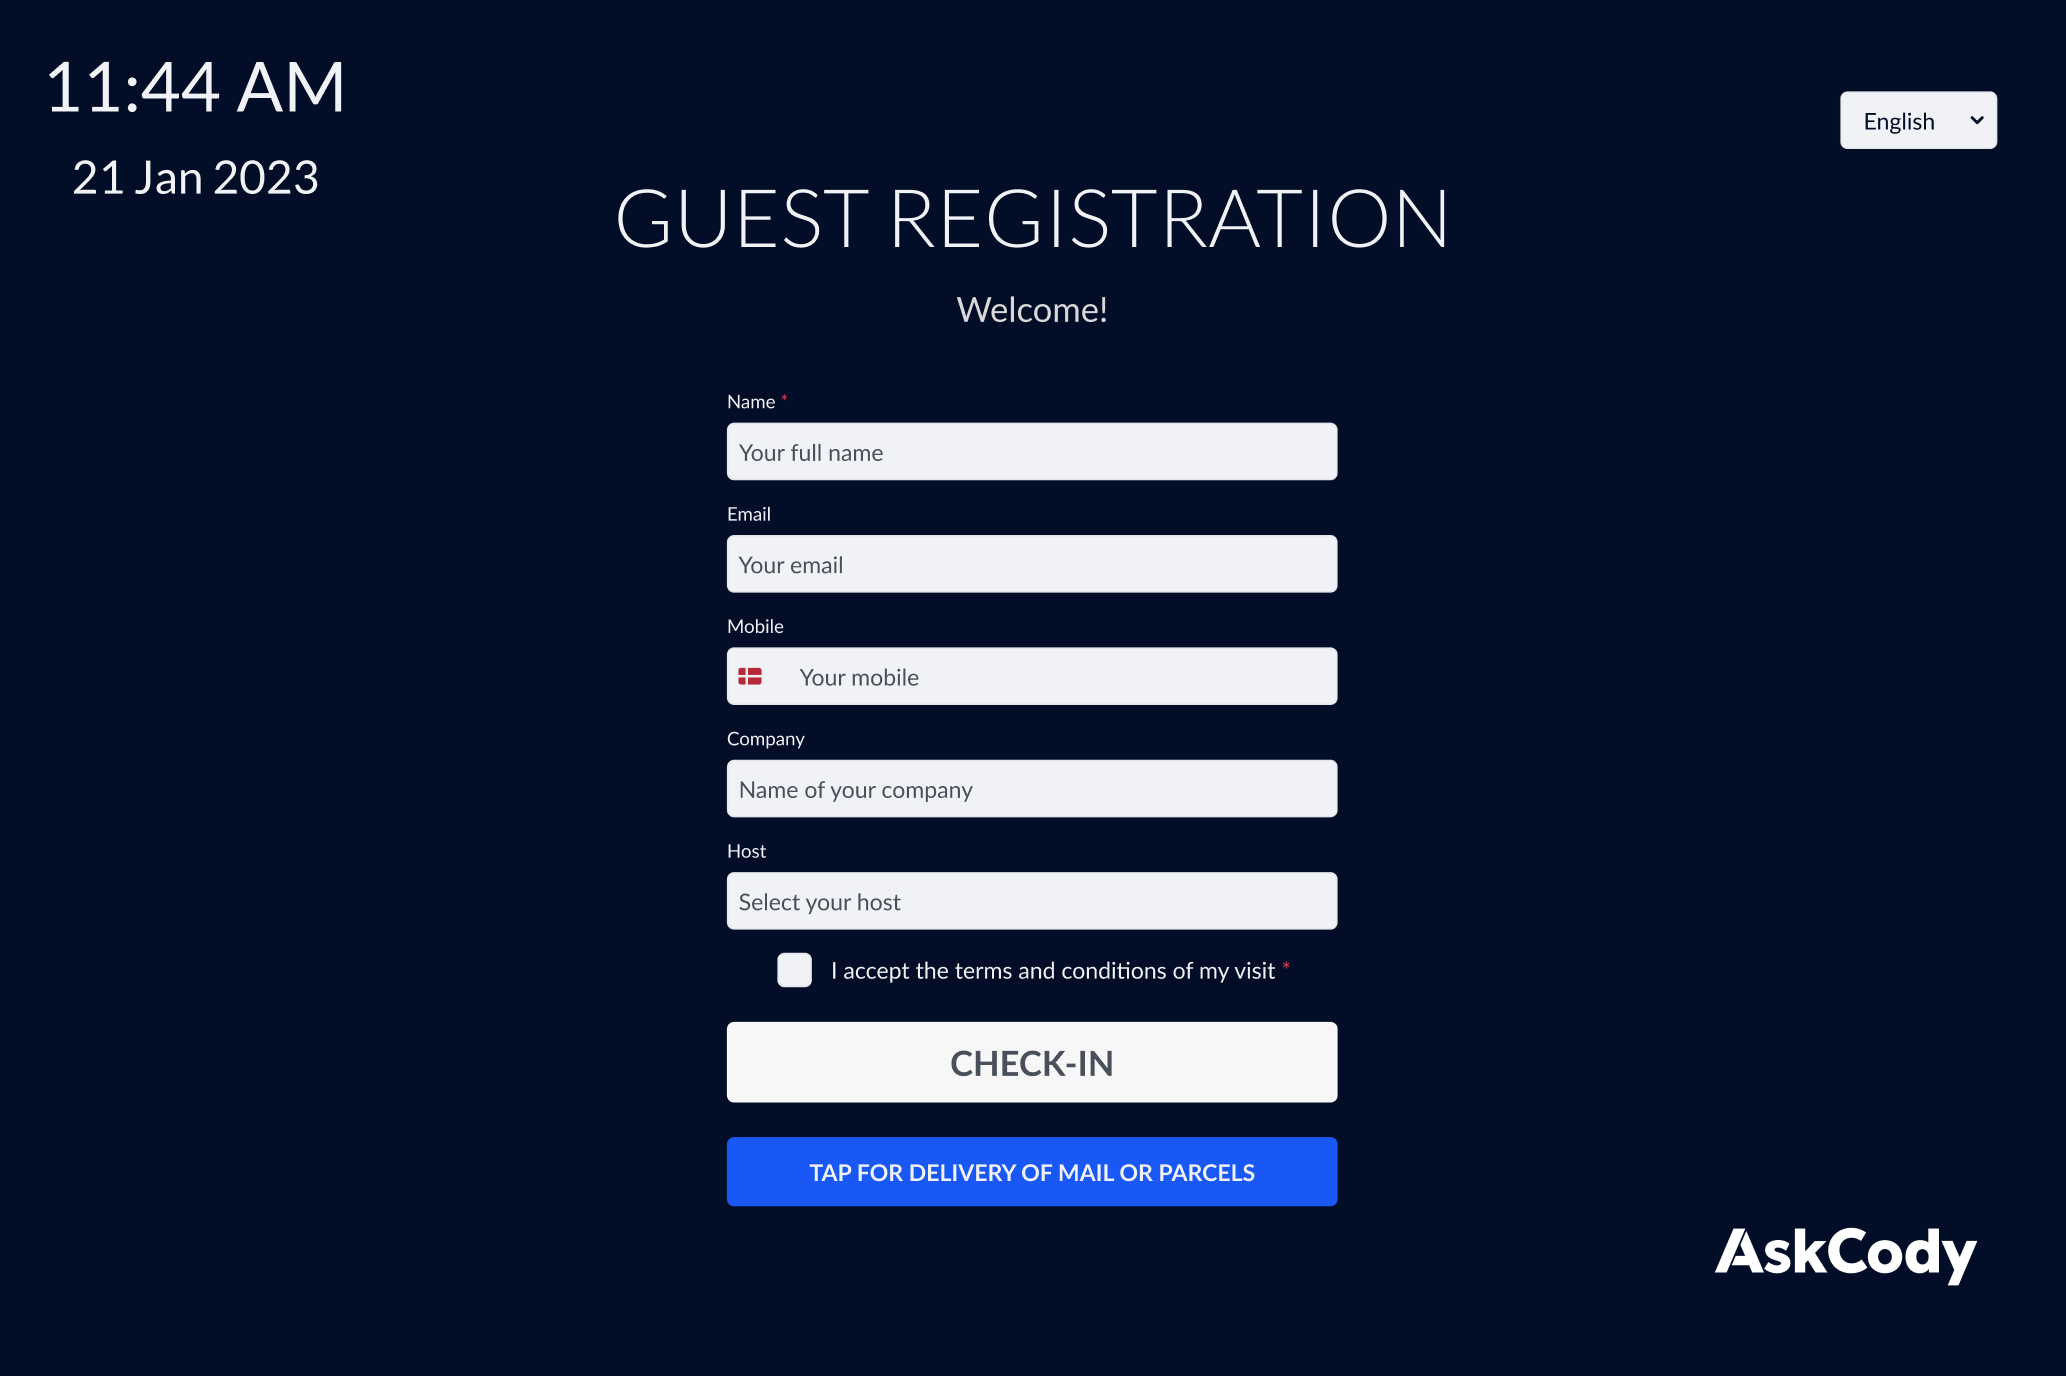
Walkthrough of the check-in process
When a visitor approaches the check-in kiosk they will be greeted by the customized title and text. If the visitor needs to change the language they can do so in the top right corner and in the top left corner the visitor can see the local time and date.
When the visitor is ready to check-in they will fill out the input fields with the information that is required by the reception. There are seven different input fields:
- Name
- Company
- Phone number
- Host
- License Plate (available for customers using the APCOA Denmark integration)
- Custom
The company, email, phone number, and host fields can all be configured to be hidden, optional, or required. The custom field can be customized to register any kind of additional information and can also be set to hidden, optional, or required. The license plate field is always optional.
Note: when a license plate is entered, the visitor must also provide an email address or a phone number before the check-in can complete, so they can be notified about their parking.
To learn more about how to configure the check-in kiosk, click here.
When the required input fields have been filled out, the visitor is able to press the check-in button to complete their check-in.
Using terms and conditions
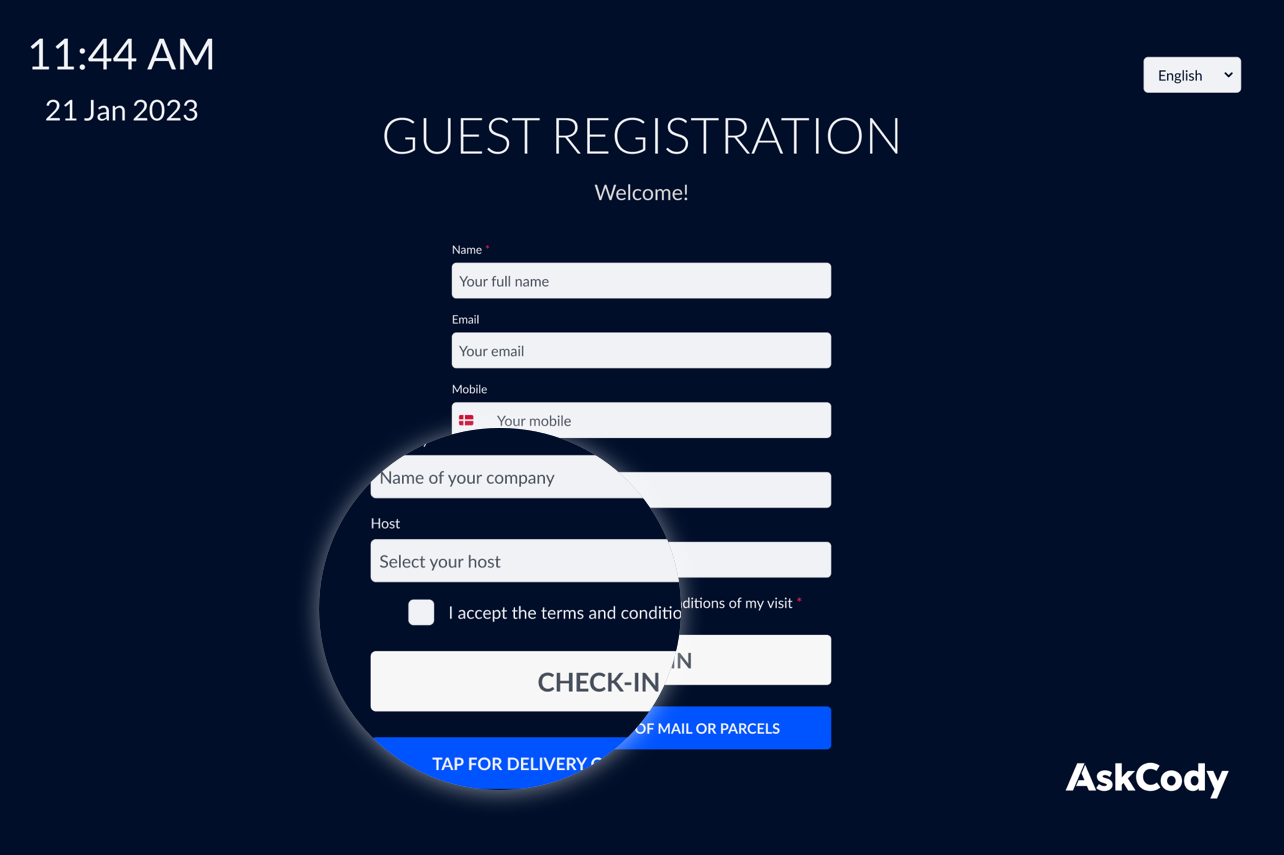
If the building is making use of specific terms and conditions that the visitor needs to see and accept before entering, the check-in kiosk can be configured to handle this as well. The content of the terms and conditions can be customized from the AskCody portal and when this is activated the visitor is required to accept this before they are able to press the check-in button.
If there is no content in the terms and conditions configuration, the checkbox will not be visible to the visitor and they will not have to accept anything before checking in. To learn more about custom messages and setting up terms and conditions, click here.
Checking in when you are pre-registered
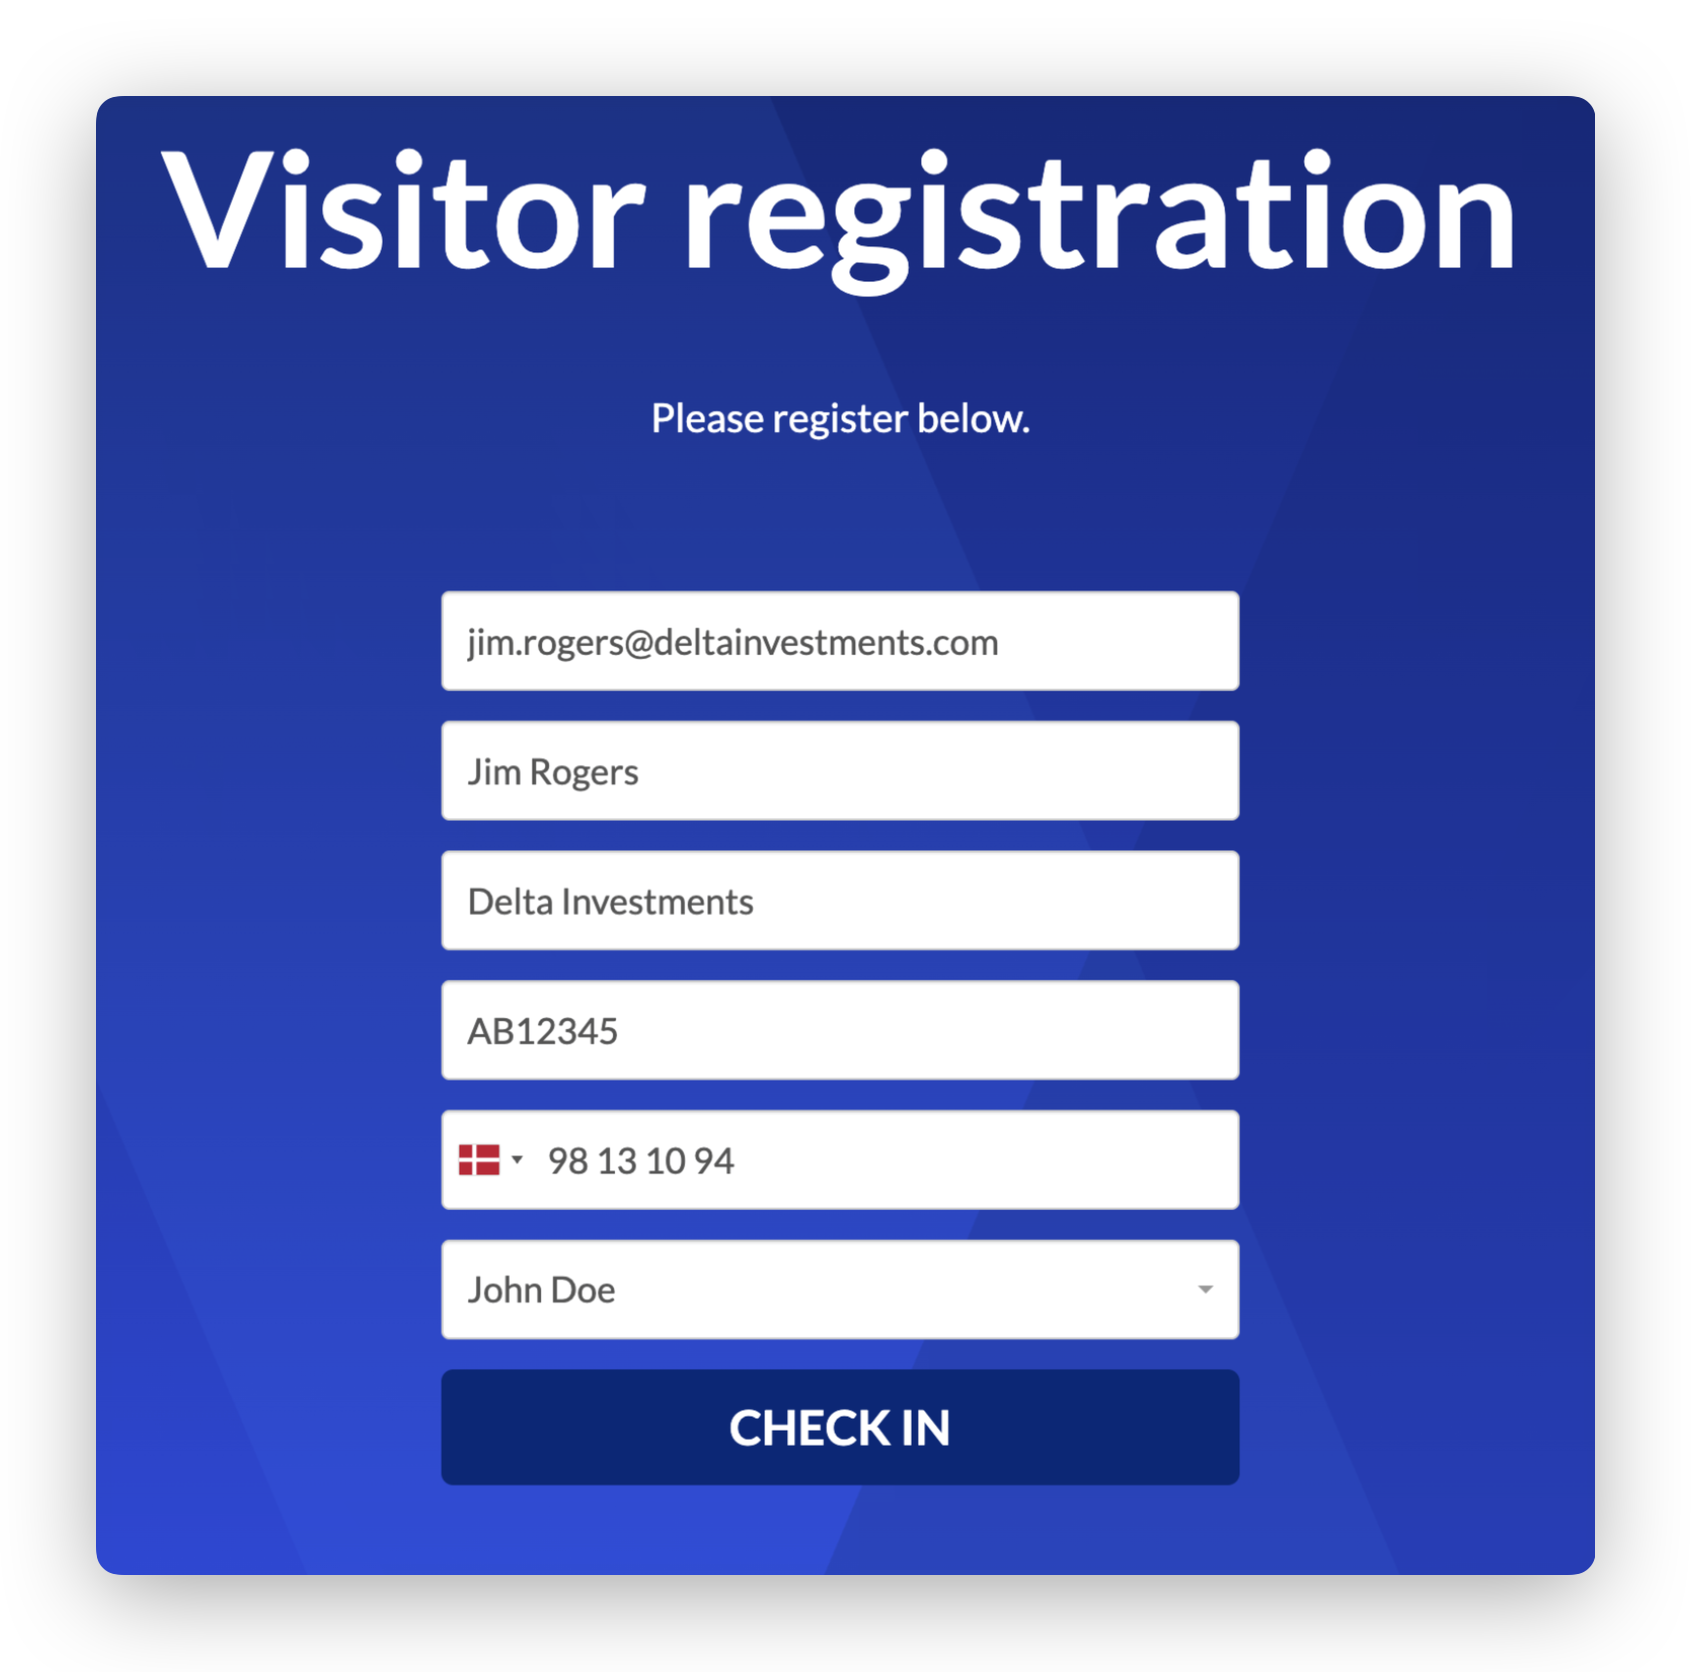
If your visit was pre-registered, the Check-in Kiosk recognizes you, so you do not have to type your details again. Enter your email address, and when it matches a visitor expected that day at the location, the remaining fields are prefilled with the details from your pre-registration.
Review the details, edit anything that has changed, and complete the check-in as usual.
The check-in is matched to your pre-registration, so the reception sees a single visit: your status changes from expected to on-site in the Visitor Management Portal, and no separate entry is created in the current visitors list.
Note: the match is made on the email address used in the pre-registration. If you enter a different email address, you check in as a regular visitor instead, exactly as before.
Registering a license plate for parking (APCOA Denmark customers)
Visitors can enter their license plate as part of their check-in. For organizations in Denmark that have enabled the APCOA Denmark parking integration, registering a license plate automatically issues an APCOA parking permit that is valid until the end of the day, so the visitor does not need a parking app or a paper permit.
If the parking permit cannot be issued, the check-in still completes and the license plate is still saved. The Check-in Kiosk shows a message so the visitor can contact the reception, and the reception can issue the permit manually from the check-in.
Learn how to set up the APCOA Denmark parking integration
Visitors without an appointment and couriers
For visitors without a host and people who are there to deliver mail or parcels, the check-in kiosk can be configured to have two buttons below the check-in button. These two additional buttons essentially work in the same fashion as a doorbell. When the buttons are pressed a notification is sent to one or more hosts that have been selected as the contact person for unexpected visitors and/or deliveries. To learn more about how to manage host settings, click here.
