![Logo - Secondary White-1.png]](https://help.askcody.com/hs-fs/hubfs/Logo%20-%20Secondary%20White-1.png?height=50&name=Logo%20-%20Secondary%20White-1.png)
The subject of events scheduled in meeting room calendars in Exchange and Microsoft 365 will by default show the name of the organizer instead of the actual subject. This can be fixed by running the O365 room resource script below or through a bit of administrative configuration via PowerShell for Windows and MacOS.
Info
You’ll need to integrate with AskCody before you can change the titles of your meetings.
This fix will display the correct subject and description for Microsoft 365 meeting room resources (rooms, desks and workspaces) across the AskCody Meeting Management Platform and it applies to other versions of Exchange as well. The change will take effect for meetings booked after running the commands.
Microsoft has a guide which describes how to connect to Exchange Online:
Connect to Exchange Online PowerShell | Microsoft Docs
From here, there are two possible ways to proceed:
- Option 1: Use Azure Cloud Shell in-browser (may require a small upgrade on your O365 account)
- Option 2: Install the Azure Active Directory Module for Windows PowerShell
Option 1
- Download the O365 room resource script by clicking here: office_365_room_update.zip (2 KB)
- Unzip the file and run “update_o365_room.bat”. When asked to run as administrator, select “Yes”. When prompted, enter your Office365 credentials
- The script will then run automatically, and your meetings will now use the subject.
Option 2
Administrative configuration via PowerShell (for Windows or MacOS)
- Open Windows PowerShell on your computer as administrator and enter the following command:
Install-Module -Name ExchangeOnlineManagement
This will install the necessary component to access Exchange Online via PowerShell.
If prompted, type "Y" and then hit the Enter key to confirm the installation. - Run the following command to activate the necessary Exchange module:
Import-Module ExchangeOnlineManagement
Note: If you get an error message saying that your organization is not allowed to execute remote scripts, please run the following command:Set-ExecutionPolicy -ExecutionPolicy Unrestricted
This will enable your organization to run remote management commands in your Exchange Environment, which are necessary for this step.
If you would like to disallow running remote scripts on your organization after having followed this guide, simply re-run the script above and replace "Unrestricted" for "Restricted". This will prevent anyone your organization from running remote scripts in Microsoft Exchange, if not needed or allowed.
- The next step is to authenticate your user, which you can do by typing in the following command and then hitting the Enter key:
Connect-ExchangeOnline
A sign in pop-up should appear. Type in the credentials of the account you want to access Exchange Online with (the account needs the Global Admin role within Exchange):
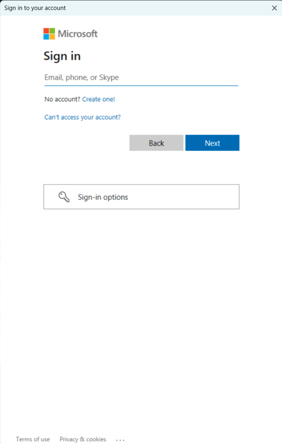
- After typing in the credentials, you should see a screen similar to this one:

If you do not see an error message (typically with red letters), it means you are correctly authenticated. - Run the following command to apply the corresponding setting for the Exchange Calendars to show the meeting subject and description correctly (scroll horizontally to see the full command):
To apply to all meeting rooms and desks in your organization:
Get-Mailbox -RecipientTypeDetails RoomMailbox -ResultSize Unlimited |

Set-CalendarProcessing `

    -AddOrganizerToSubject $false `

    -DeleteSubject $false `

    -DeleteComments $false `

    -RemovePrivateProperty $false
Please note that this command may take a while to implement, and PowerShell may seem stale while it's doing so, but as long as you do not see any error messages, it should be applying the settings correctly.
To apply to a single meeting room, or desk:Set-CalendarProcessing RoomMailbox -AddOrganizerToSubject $false -DeleteSubject $false -DeleteComments $false -RemovePrivateProperty $false
Example on a room with the following mailbox: room1@askcody.com
Set-CalendarProcessing room1@askcody.com -AddOrganizerToSubject $false -DeleteSubject $false -DeleteComments $false -RemovePrivateProperty $false
Example on a workspace with the following mailbox: saleshub@askcody.comSet-CalendarProcessing saleshub@askcody.com -AddOrganizerToSubject $false -DeleteSubject $false -DeleteComments $false -RemovePrivateProperty $false
When done, if you do not see any error messages (typically in red), the meeting subject and description will be correctly shown as intended in Room Displays, Dashboards, Workplace Central and Maps.
Make sure to run the command for every calendar you want to display the information correctly.
It is important to remark that private events and meetings will not show the subject or description, but simply display Occupied as the subject. Additionally, for pre-existing events to correctly display the information, they may need to be updated (resend the meeting invite to the room/workspace) in Outlook. For events created after running the command above, they should display the information correctly.