![Logo - Secondary White-1.png]](https://help.askcody.com/hs-fs/hubfs/Logo%20-%20Secondary%20White-1.png?height=50&name=Logo%20-%20Secondary%20White-1.png)
The IT team will, at this point, have given you the right user roles and deployed the Service Add-in, so you can see and open the Add-in in your Outlook. To learn how to use the Services Add-in for Outlook, please follow these steps.
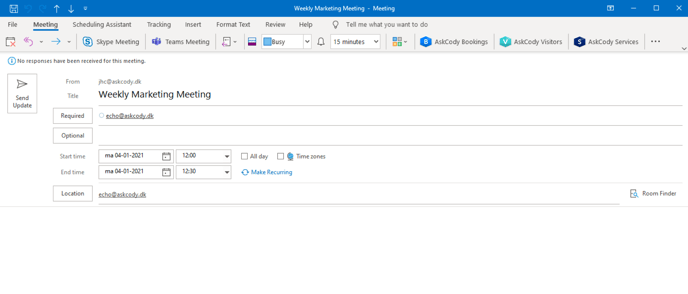
- Open Outlook.
- Navigate to the Calendar. At this point, you might already have booked a meeting using the Bookings Add-in. Open the meeting you wish to request services for.
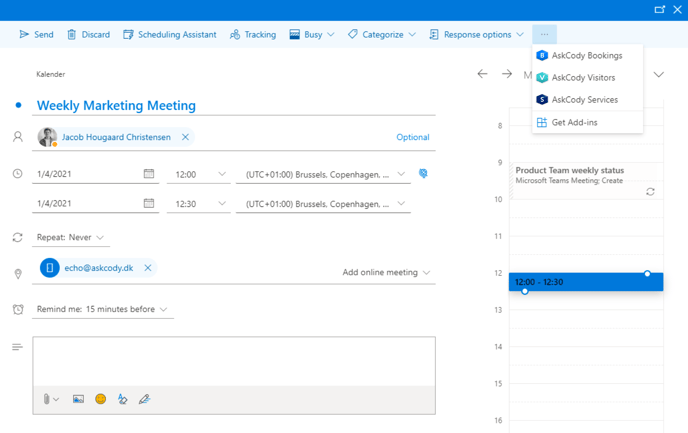
*If you haven't booked a meeting in Outlook, follow the steps as described in How to use the AskCody Booking Add-in. - Open the AskCody Services Add-in at the top of the Outlook window (ribbon).
- If you have only booked one room for your meeting, that room will already be preselected for you.
- If there is only one Service Provider that offers services for that room, the Service Provider will already be preselected for you.
- Now, add the services you need by selecting the categories and items and adding the items to your chart or item list. You can change the quantity by clicking "add item" or editing the quantity in the item list.
- Delivery options consist of delivery Time, Delivery method, and Comment. Delivery time can either be the start of the meeting, a specific time, or the end of the meeting. For the Delivery method, "On location" or "Pick-up" can be selected.
- Options shown in Finalize Request depend on the configuration of the service provider as set up in an earlier step. The options in this category are typically finance-related.
In the example shown below, Cost center, Meeting type, and Client Matter Number.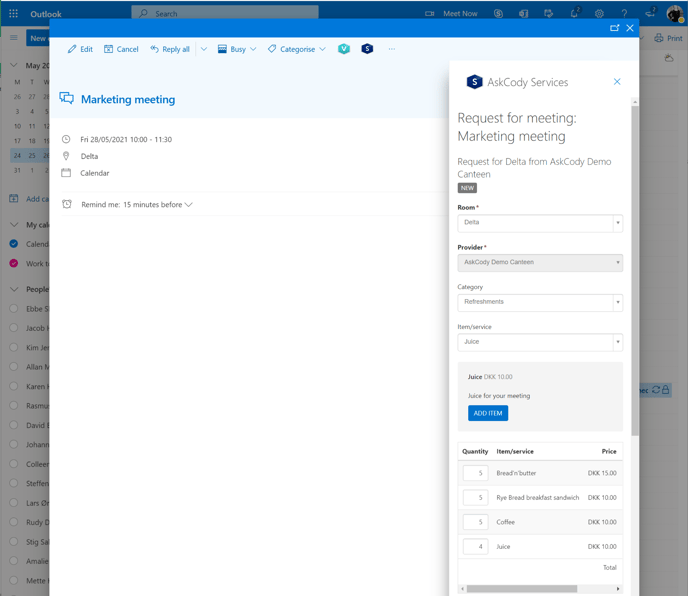
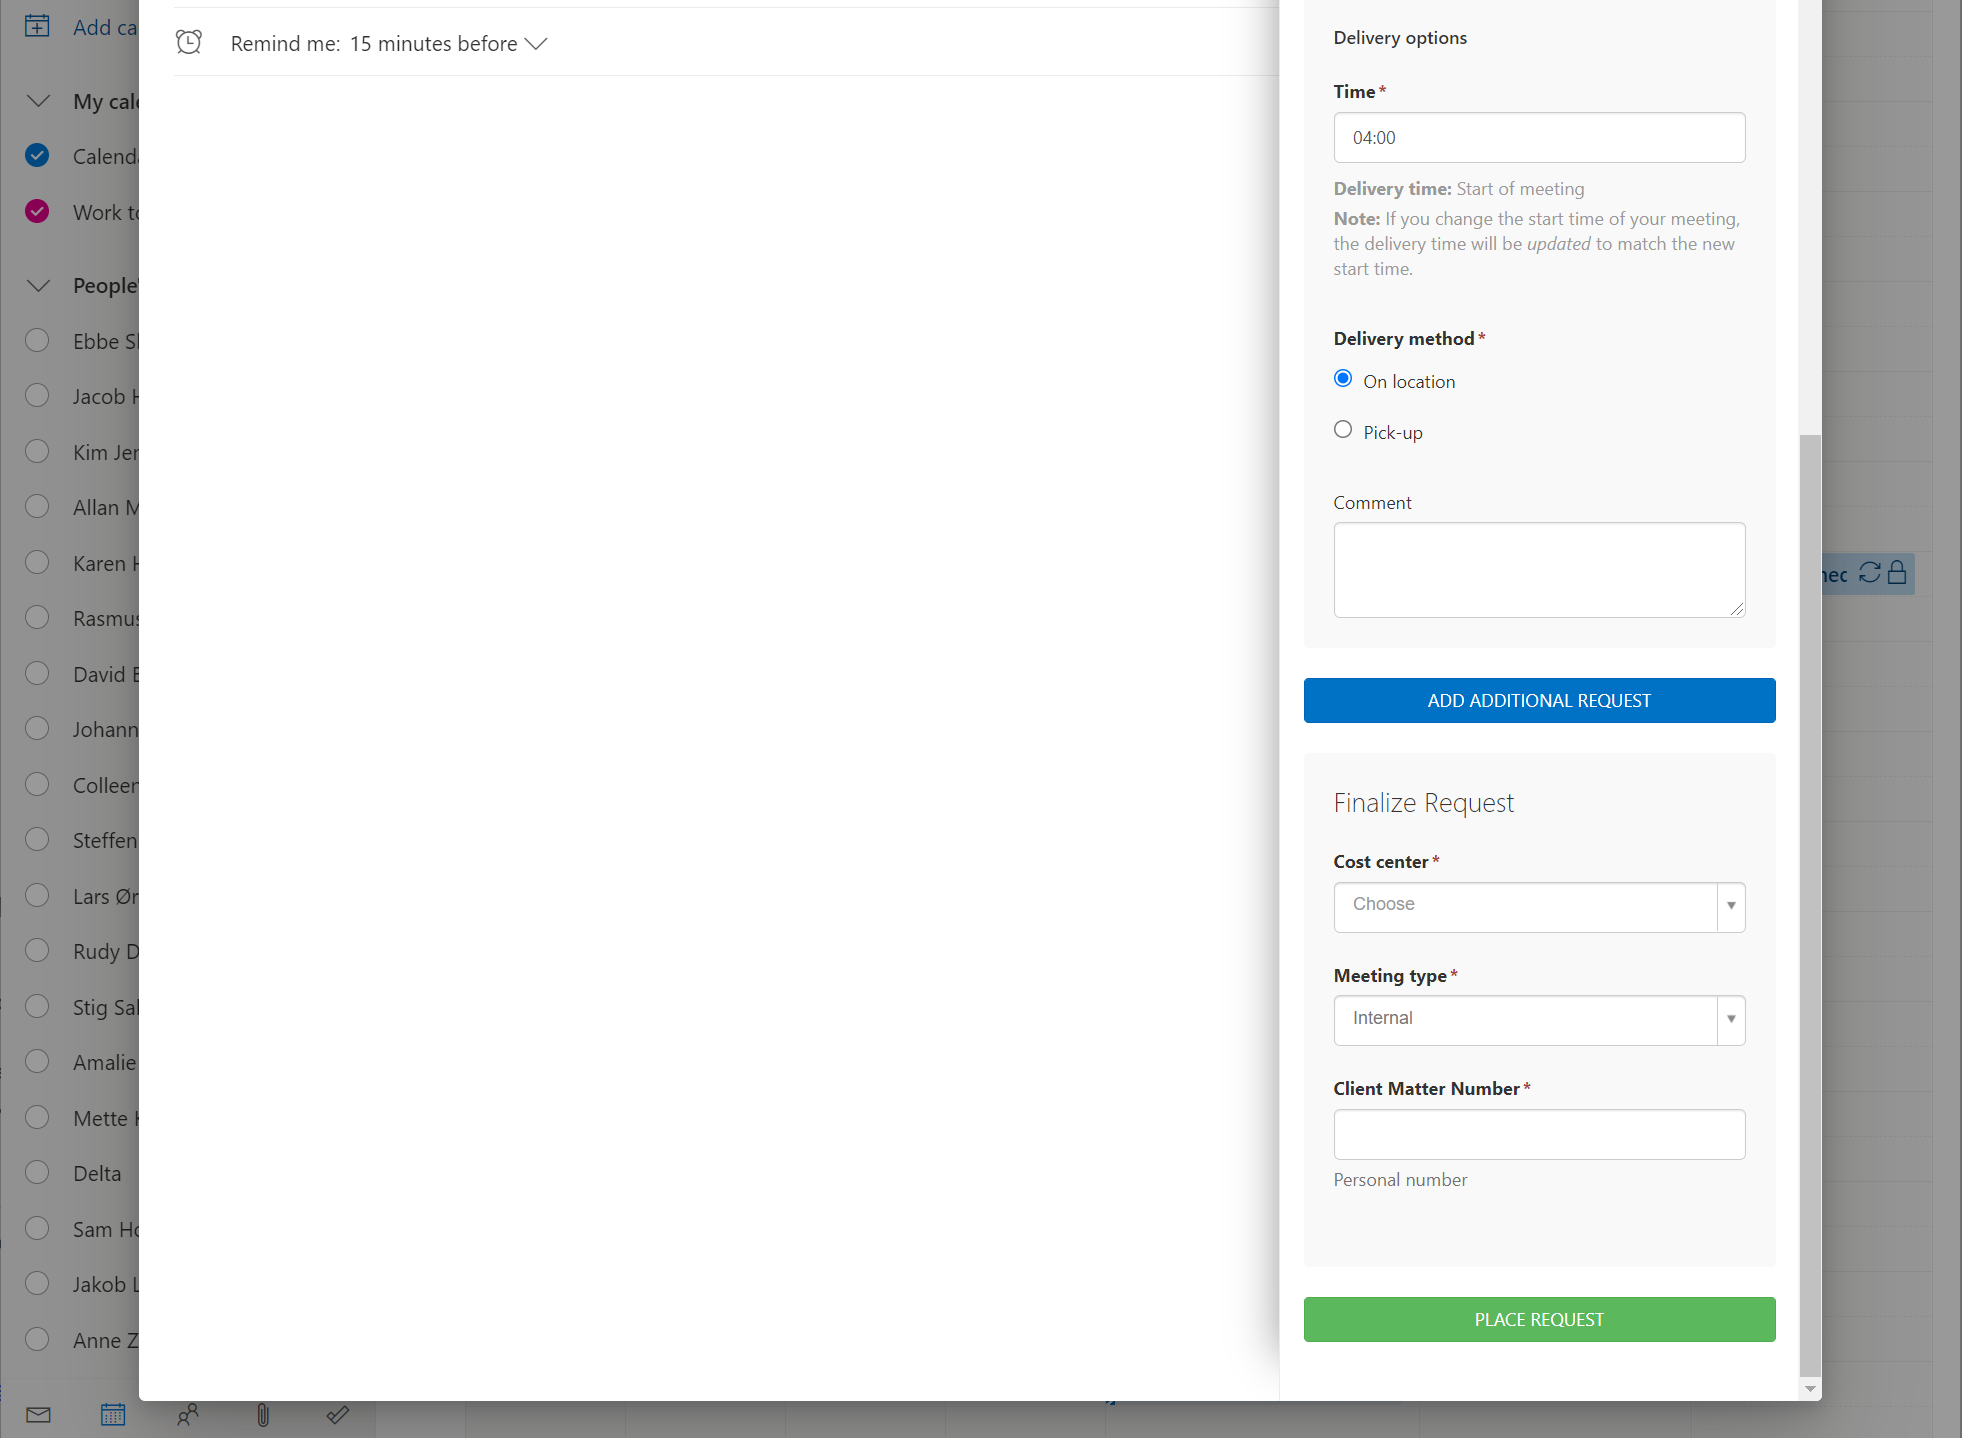
- To finish, select Place Request. You will now receive a confirmation email regarding your service request, and you can now close the meeting or continue with the Visitors Add-in.
If you need to add multiple requests for services for the same meeting (For a whole-day meeting, or services from different providers), click Add additional request and go through the same process, selecting the provider, categories, and items needed, before placing the final combined request.
To edit or cancel a service request, open the meeting in your Outlook Calendar and open the Services add-in, and delete the request.