![Logo - Secondary White-1.png]](https://help.askcody.com/hs-fs/hubfs/Logo%20-%20Secondary%20White-1.png?height=50&name=Logo%20-%20Secondary%20White-1.png)
The first thing you have to do is log in to the AskCody Management Portal. If you don't have a login to the AskCody Management Portal, please contact the person that is responsible for AskCody at your company.
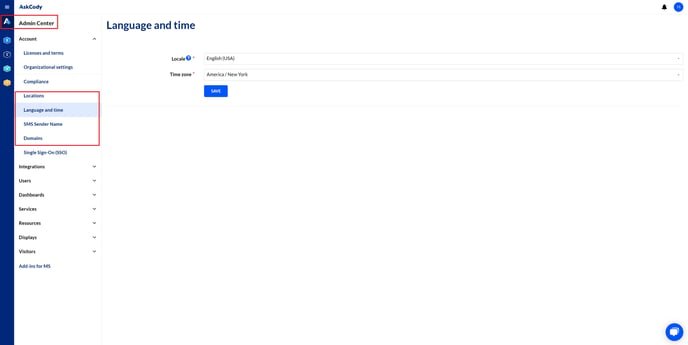
System Date & Time
Here you can set the preferred Timezone and clock type for the system. This is just a technical matter, and more specific timezones for different locations will be set in Locations in the Account tab.
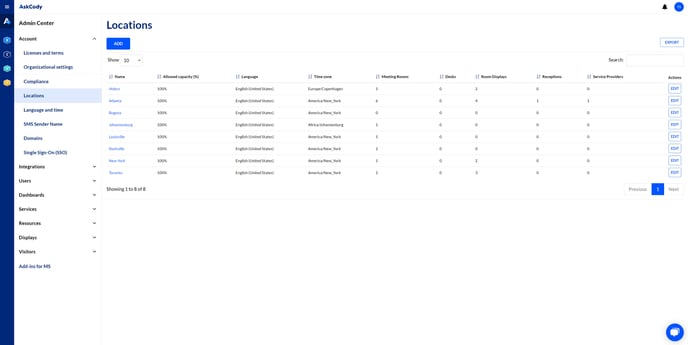
Locations
This is where you add all your different locations.
Ex: You have 3 buildings with 3 receptions in city X in country X, you also have 1 building with a reception in city Y in country Y, you will then need to add 4 locations. see the picture below.
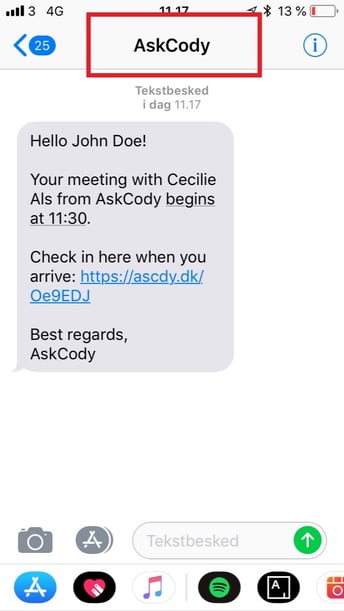
SMS Sender Name
It is possible to customize the name of the sender in SMS, instead of the SMS provider number.
Ex: When you have used the AskCody Visitors Add-in to invite your visitors to the reception, the visitors will receive an SMS with a reminder. This SMS reminder can be sent on behalf of your company if you write the company name in the SMS Sender Name field.
*It can only be 11 characters long, and only contain letters from A-Z.
Domains
Fill out the domain information if you want areas of the AskCody platform to help you perform smarter.
Ex: When you use the AskCody Modules, and the company domain name is entered in the "Domain name", it will be possible for the system to check for that domain name in email addresses.
This will optimize the process when using the Bookings Add-in to automatically find an external meeting room if the AskCody platform detects an external email address among the invited attendees.