![Logo - Secondary White-1.png]](https://help.askcody.com/hs-fs/hubfs/Logo%20-%20Secondary%20White-1.png?height=50&name=Logo%20-%20Secondary%20White-1.png)
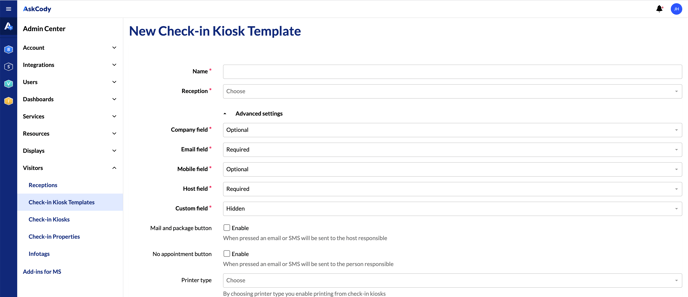
Step 1: Create a check-in screen configuration
From the left pane in the Management Portal, go to Admin Center → Click on Visitors and choose Check-in Kiosk Templates from the dropdown menu→ Click Add → Fill out the information and click Add.
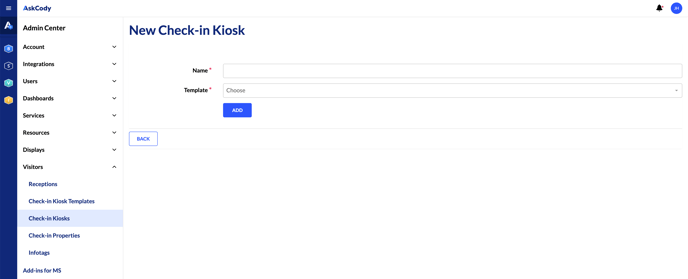
Step 2: Create a Check-in Kiosk
From the left panel, go to Admin Center → Click on Visitors and choose Check-in Kiosks from the dropdown → Click Add → Fill out the information and click Add.
 A license key and a URL are now created and are ready to be set up on the physical screen.
To learn how to use your new Visitors check-in kiosk URL on a Windows PC using Google Chrome, or Microsoft Edge, click here!